So far, I've done 2 underwater photoshoots, excluding this weeks episode. Although I am certainly no expert, I'm starting to feel a bit more confident. Might as well and jump head first and make an episode about the whole process. Since it's a lot more difficult to yield consistent results, given the challenges in communication and mobility underwater, we shot a LOT of frames for this shoot. Nothing unusual. I also thought this would be the perfect opportunity to try shooting some rolls of film. We'll get to all of that in a bit. Let's start with how I got into underwater photography. The gear I use. My experiences so far. And the results I've been able to yield.
First time surfing back in 2008
A childhood friend of mine had planned to travel across British Colombia this summer. We hitchhiked from Banff all the way to Vancouver. Our final destination was to go all the way to Tofino on Vancouver Island and go surf in the ocean. It's quite a romantic idea for us Easterners. Always having photography on my mind, the first thought I had were about how to photograph the surfing portion of our trip. A few years back I had borrowed an olympus waterproof underwater point and shot to photograph this. It did a great job at the time. But, now my aesthetic taste are more demanding. I needed better quality. I had to find a housing for my dslr.
Traveling through B.C. with my friend
After doing research for a while, I narrowed down the options to the Outex underwater housing. It seemed to be a good compromise between reliability and cost. When buying the housing, you get to choose a thread size. This will dictate which lenses you'll be able to use with the housing. I got the Xmm. This was compatible with both my 35mm and my 50mm. The 35mm would give me a wider angle option and the 50mm would allow my to shoot in dimmer light situations. This thread size choice turned out to be a bad idea. The housing that extends around the lens is quite long. This allows the option to mount longer sized lenses, such as the 24-70 or a 70-200, if you so choose to. After all, the housing is not meant to only be used underwater, but as a protection from dust, mud, rain, etc... Anyway, so this longer extension around the lens is way to long for a small prime lens. Thus, the extra latex constricts the auto-focus mechanism of the lens. Rendering auto-focusing impossible. I was able to get around this by stretching the extra latex back onto the body.
My only Image I was really happy with while shooting in Tofino
I assume Outex offers other housing options with shorter lenses extension. I was unable to find such option on their website, but it would seem ridiculous that they wouldn't offer it. Anyway, I ended up shooting in the ocean, while my friend was surfing, for about 4 hours, on and off. I shot around 400 frames in that time span. I ultimately ended up with only one picture I really liked. Shooting in the ocean is hardcore. Battling the waves. Trying to figure out the right position to stand at, in order to be able to shoot your subject as they were mounting onto the surf board. Only having primes. The lens was fogging up from the cold temperature of the ocean. All the challenges made me appreciate any beautiful photograph I saw of people surfing.
Nikon 35mm F2
Fast forward a month or two later after coming back to Edmonton. I setup a shoot with a few subjects at a local indoor pool. This was fairly easy. Underwater photoshoots are very appealing. I figured, shooting girls wearing dresses, where the fabric would be floating in the water, would be the most compelling type of images I could try to achieve. To enhance the dramatic effect, I decided to use off camera flash. Shooting with the ambient light of the pool would reveal the tiled surface. Not very poetic. Thankfully, the Outex housings offers an option to run a cable through a plug that you can seal. So, I connect very long PC sync cord that runs all the way outside of the water to a pocket wizard attached to a light stand. The Pocket wizard than triggers my strobe. I boom the strobe over the water, as close to the subject. Taking inverse square law in effect, a dramatic light fall off occurs, thus hiding the tiles in darkness.
After this shoot I realized the 35mm lens wasn't wide enough. After doing lots of research, I learned that the further away you are from your subject, the more water there is between you and the subject and every additional centimeter of water will slowly blur the image you try to capture. In other words, the closer you are to the subject, the more defined and clear the image will be. Another factor that will also affect the clarity of the image is what kind of water you are shooting in. In order from best to worst conditions, a clear water lake, salt water from an ocean, salt water pool and finally chlorinated pool. Unfortunately, I only have access to a chlorinated pool. Still better than nothing. Also, the amount of chlorine and if there were a lot of activity in the pool, might affect the clarity of the water.
Nikon 24-70mm
I ordered a different thread size front seal to allow me to use my 24-70mm lens. This extra wideness would allow me to get closer to the subject. Reducing the water between us and enhancing the image quality. The second shoot I did, I used the 24-70m at 24mm. The image quality was 10 fold better.
After I knew we had enough digital pictures to yield sufficient content if need be, we switched the D800 for the F100 and shot some film. I was quite nervous as to how these would turn out. Being unable to meter underwater, I pasted the settings I used with the D800. The scans I got from the Lab were overexposed. I wasn't really happy with them. I scanned them again with my Epson V700. Although I am still unsure of the colours, the exposure is decent. I like how the film rendered the colour of the dress. The colours seem more rich. I wouldn't mind trying shooting this stock underwater again. Perhaps next time i would try using a reflector to bring back some detail in the shadows.
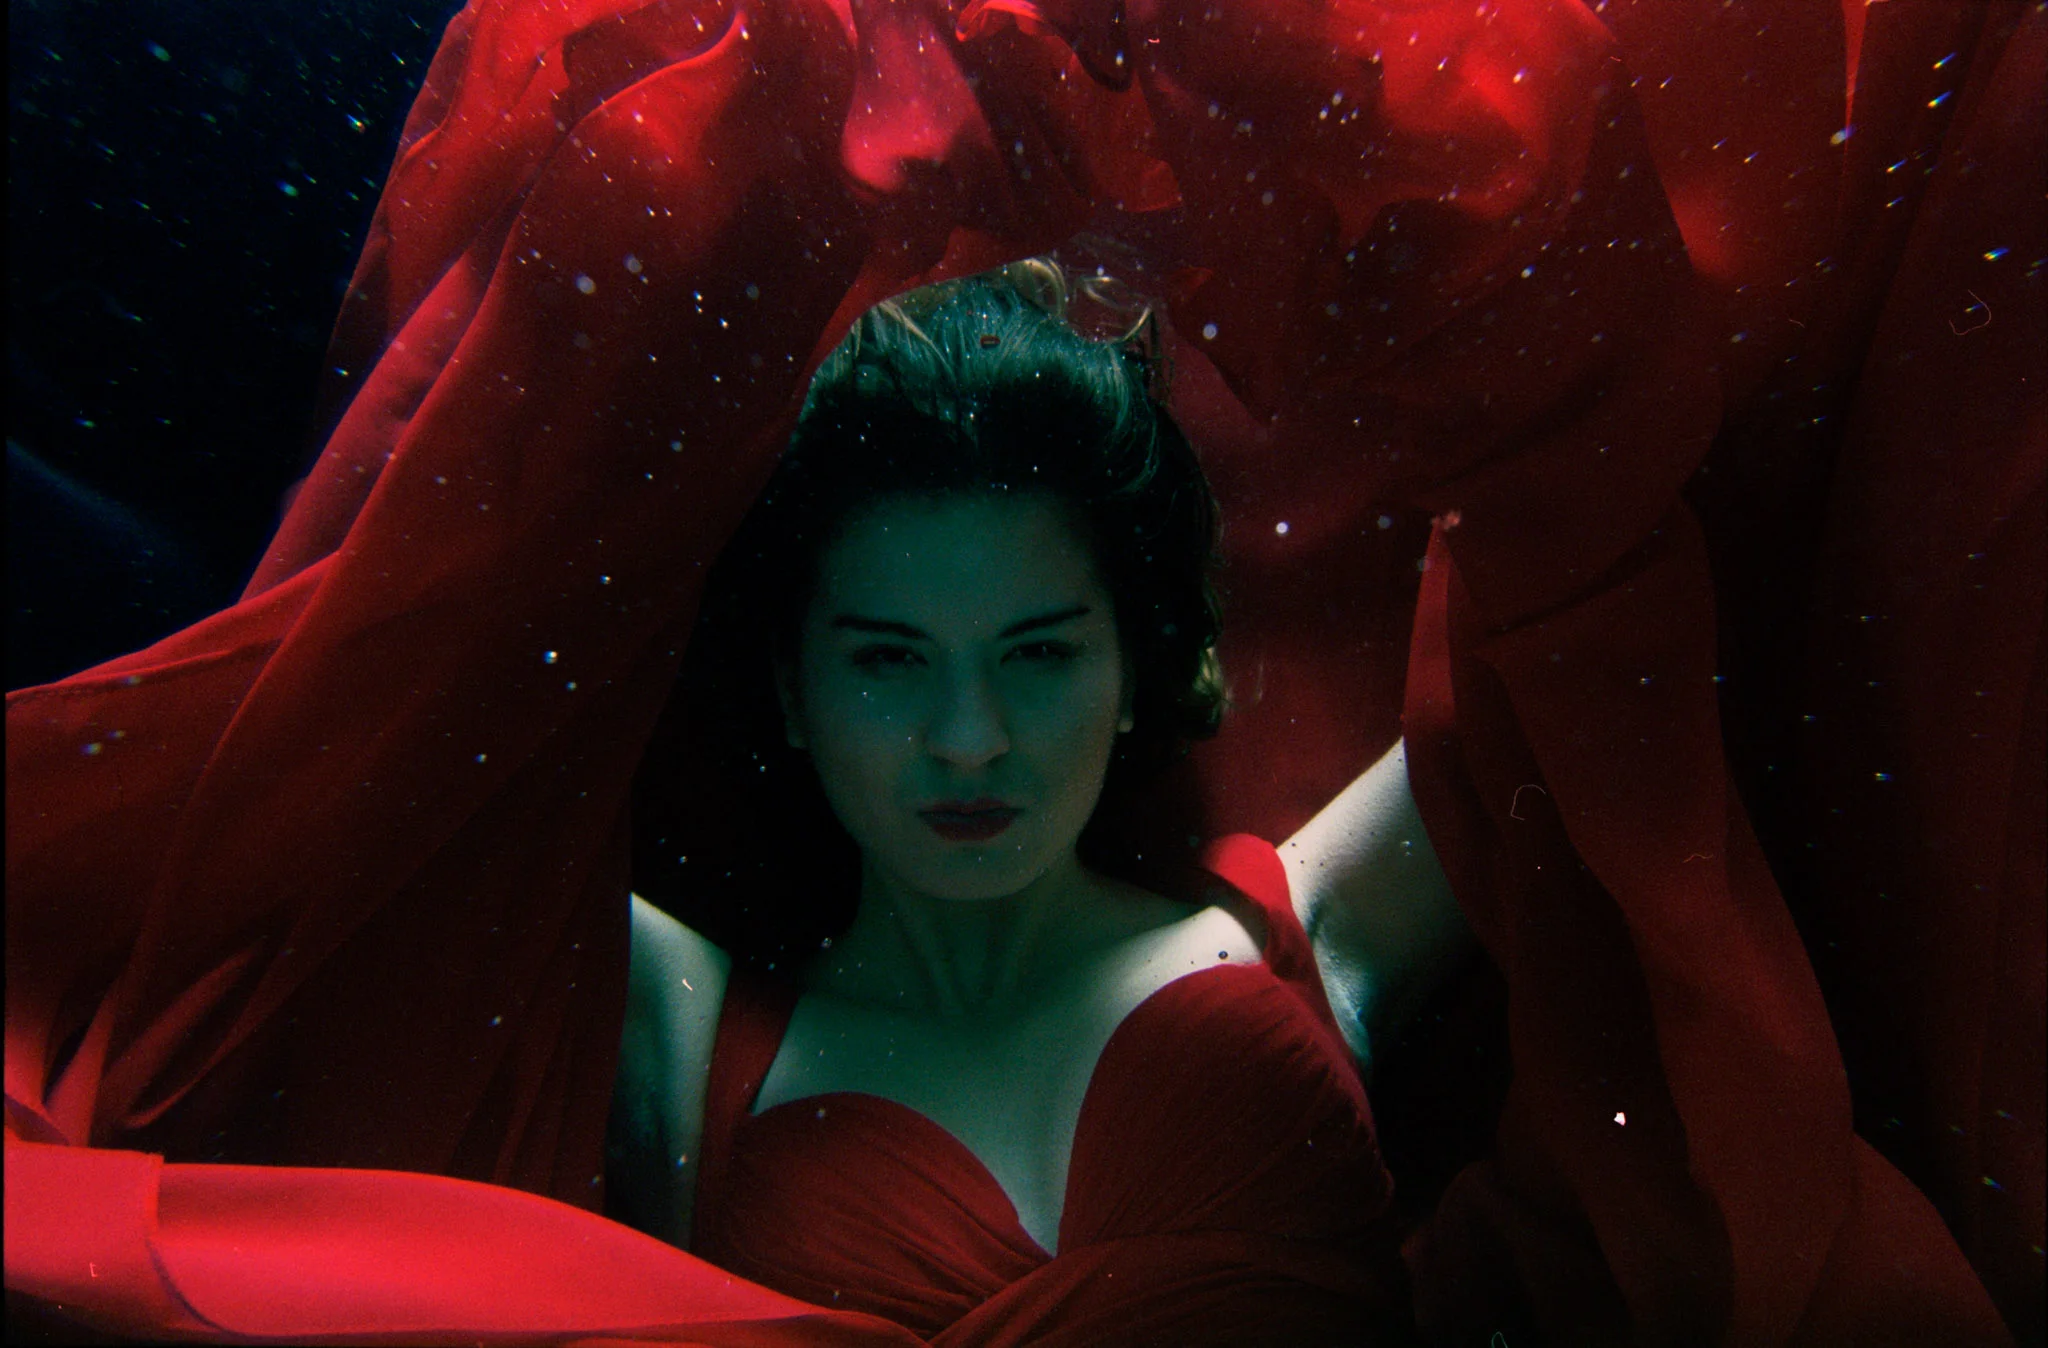
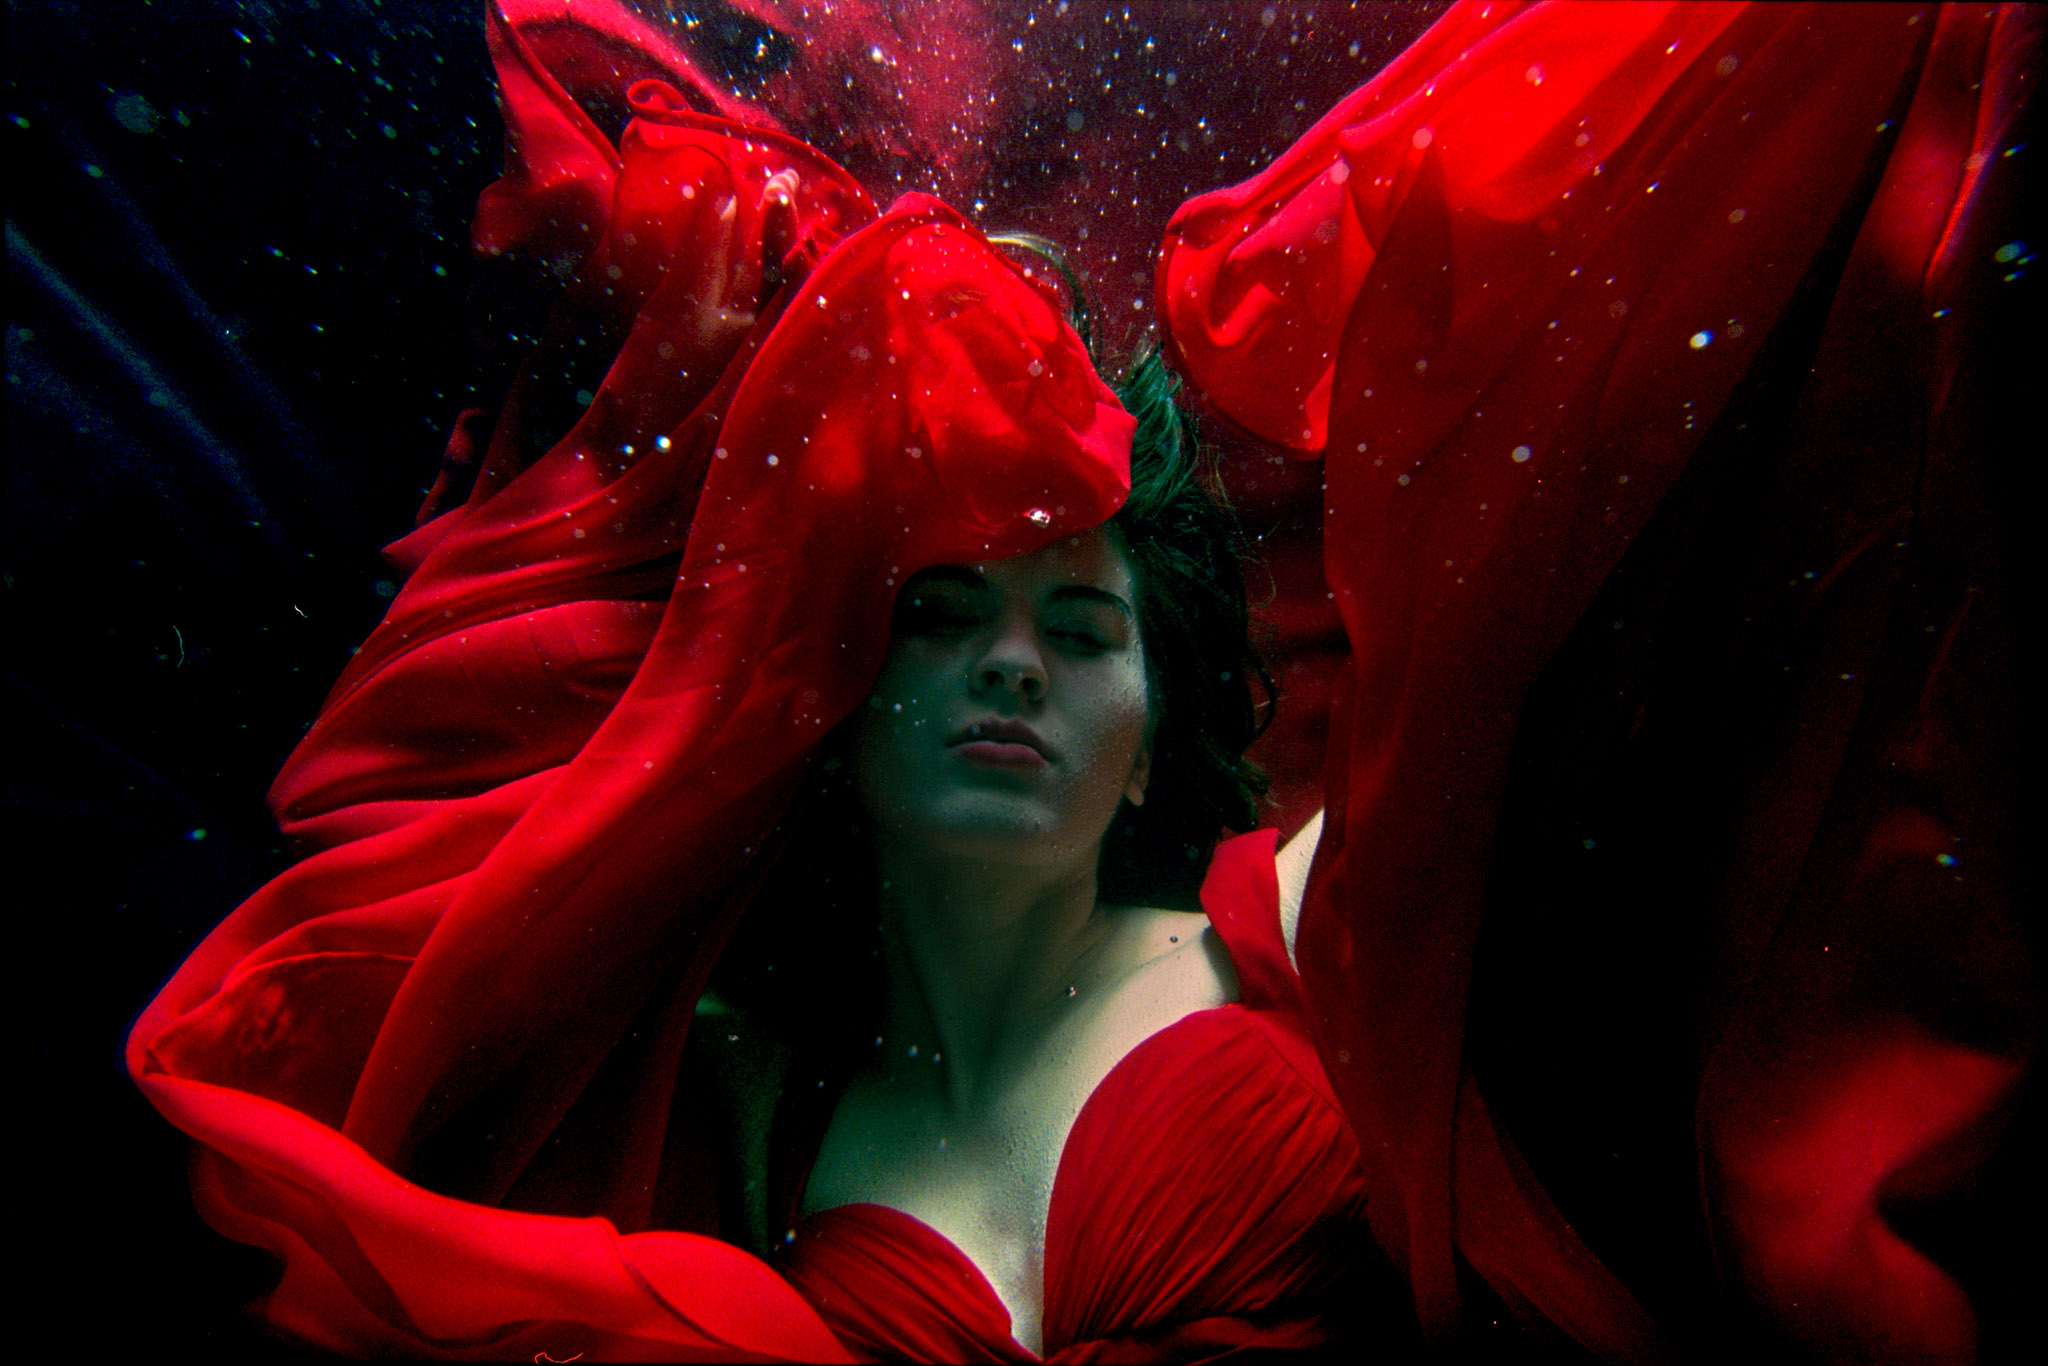
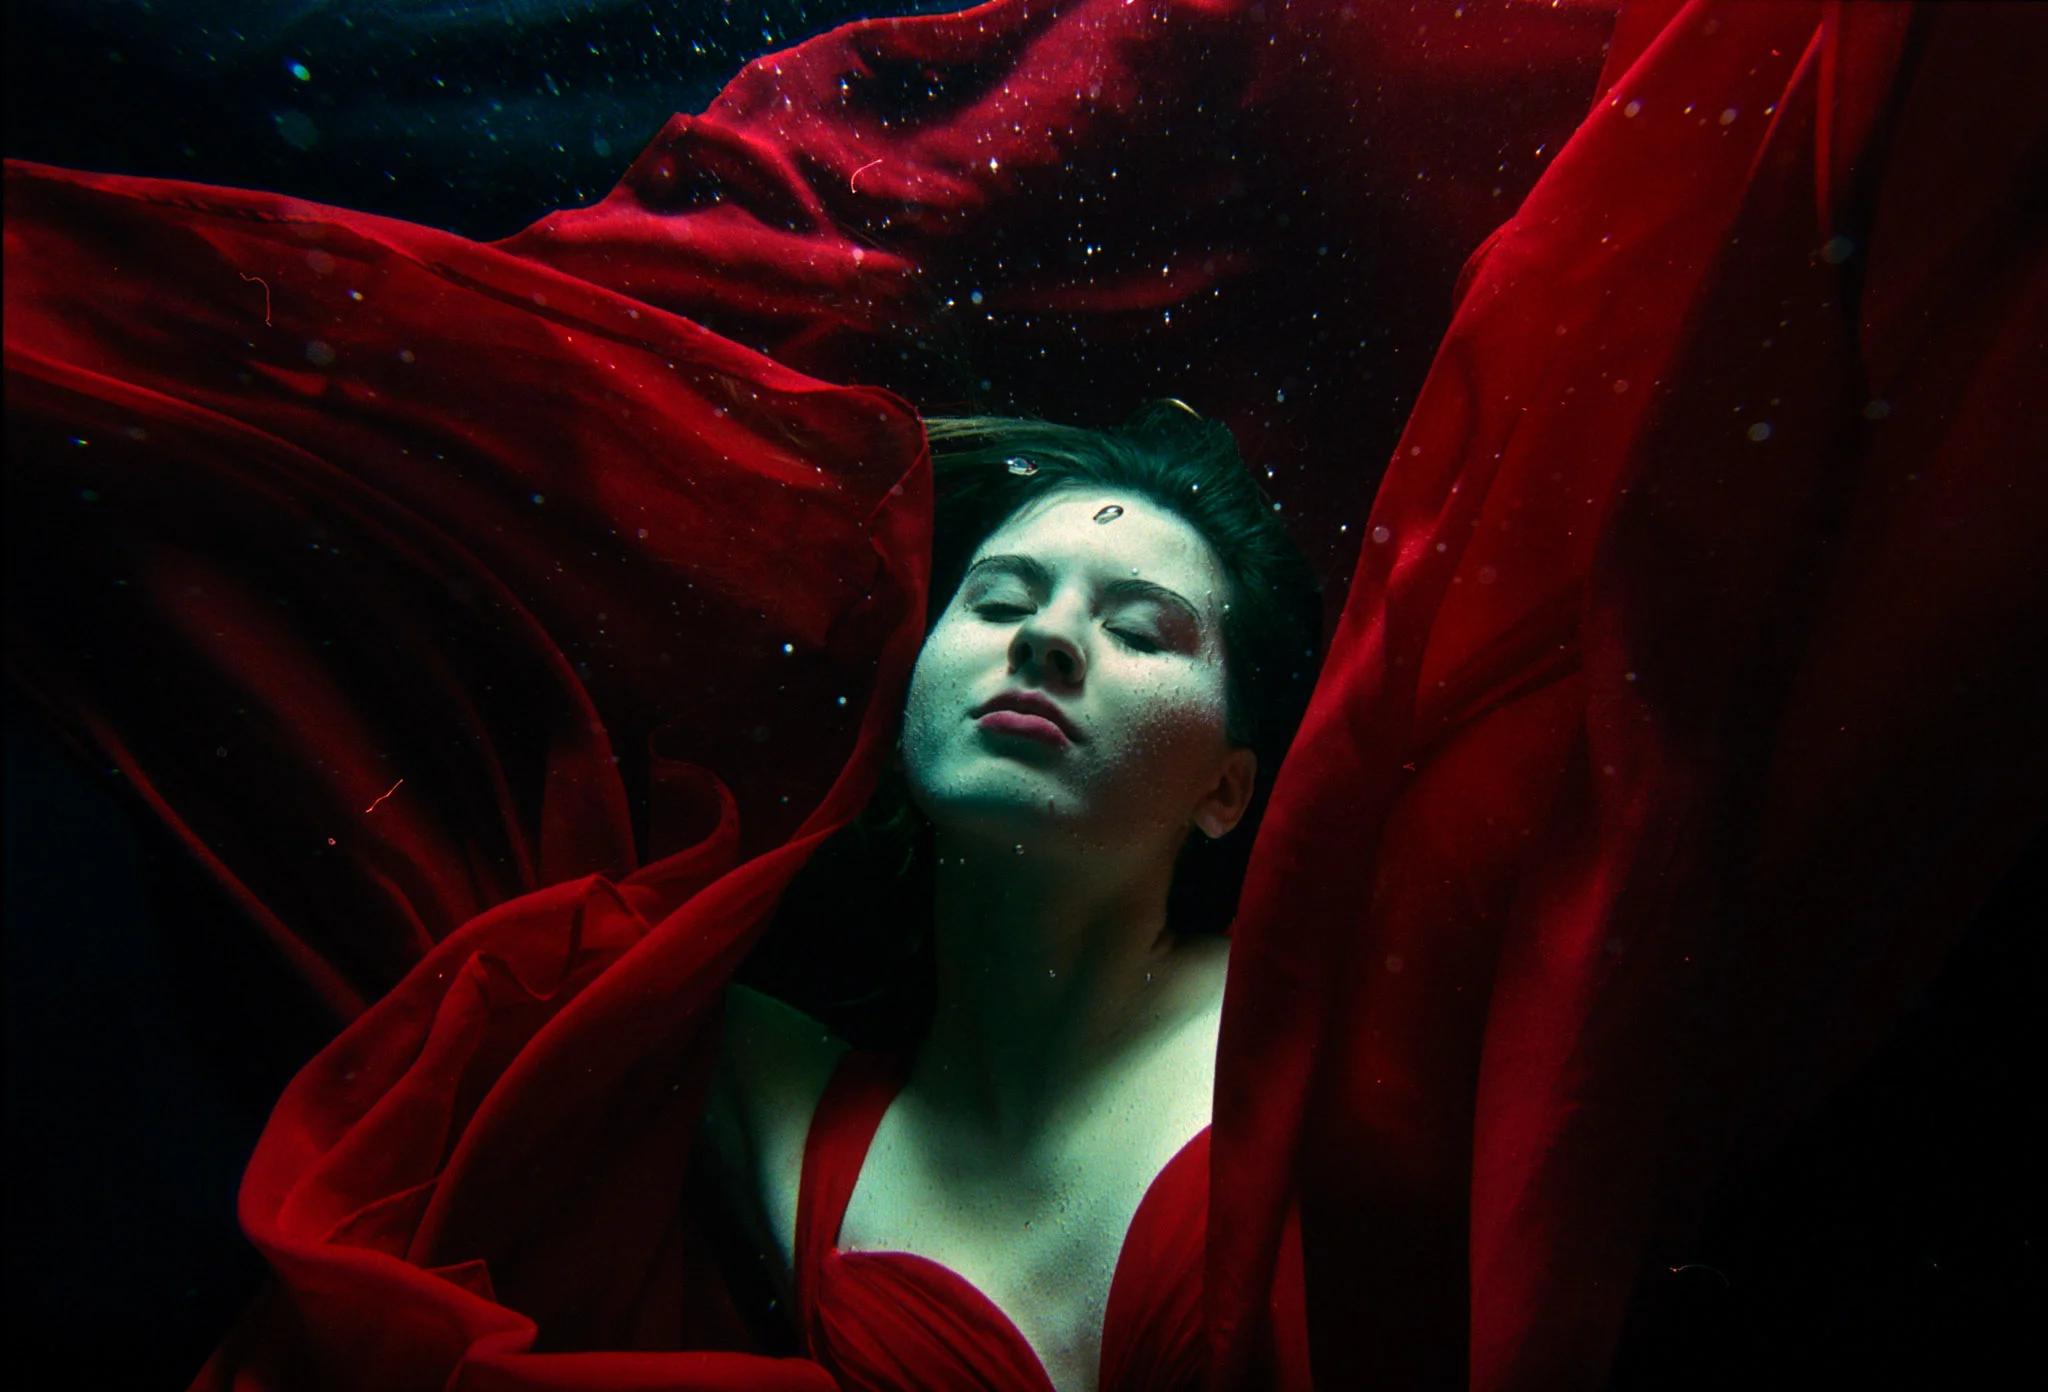
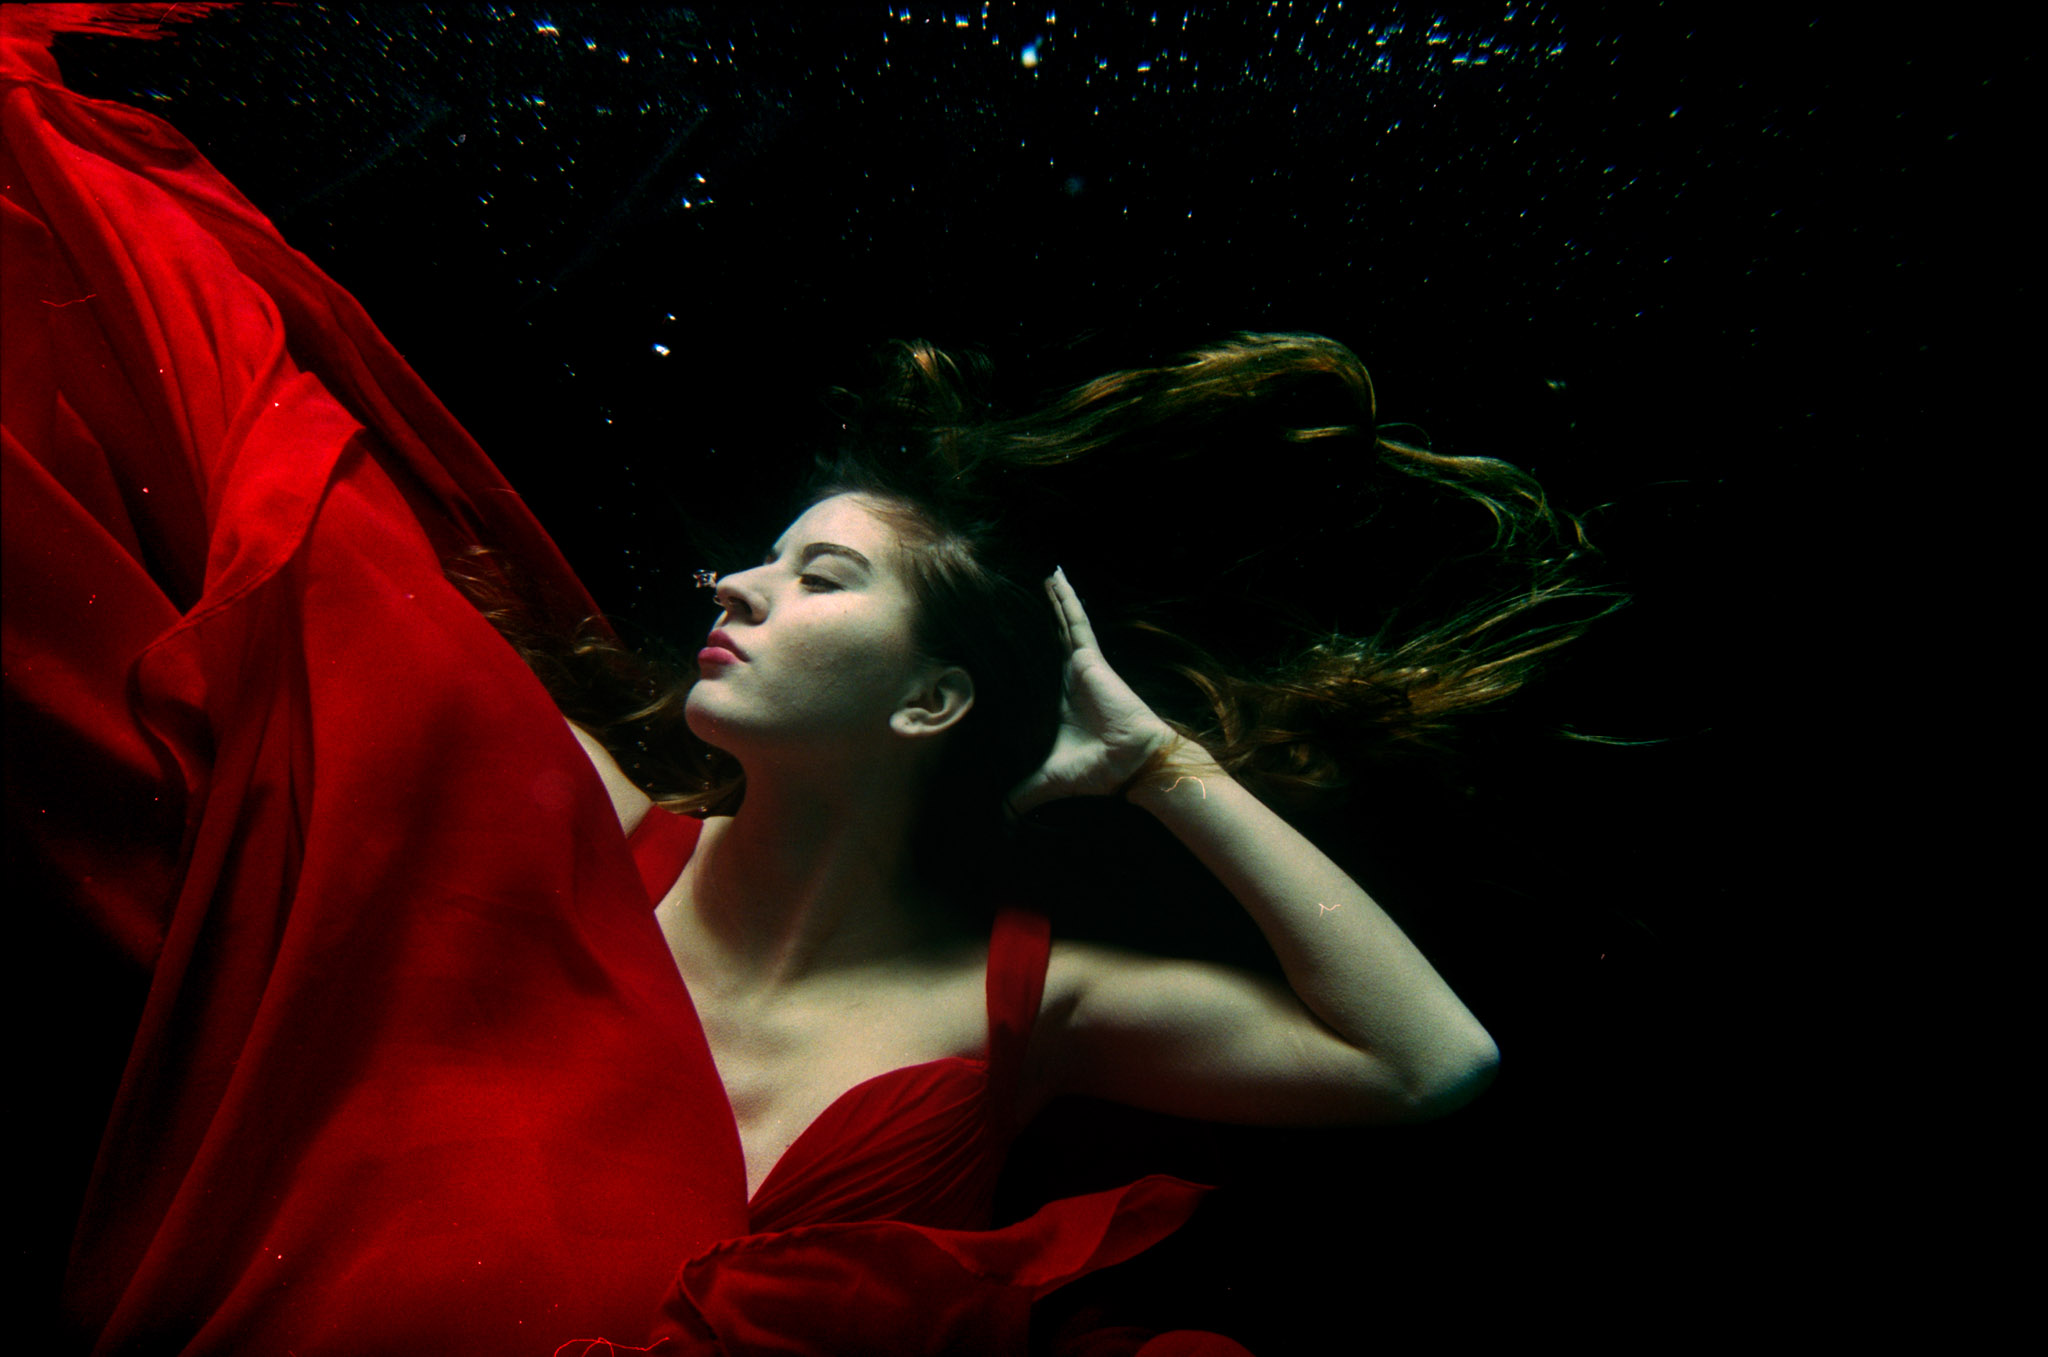
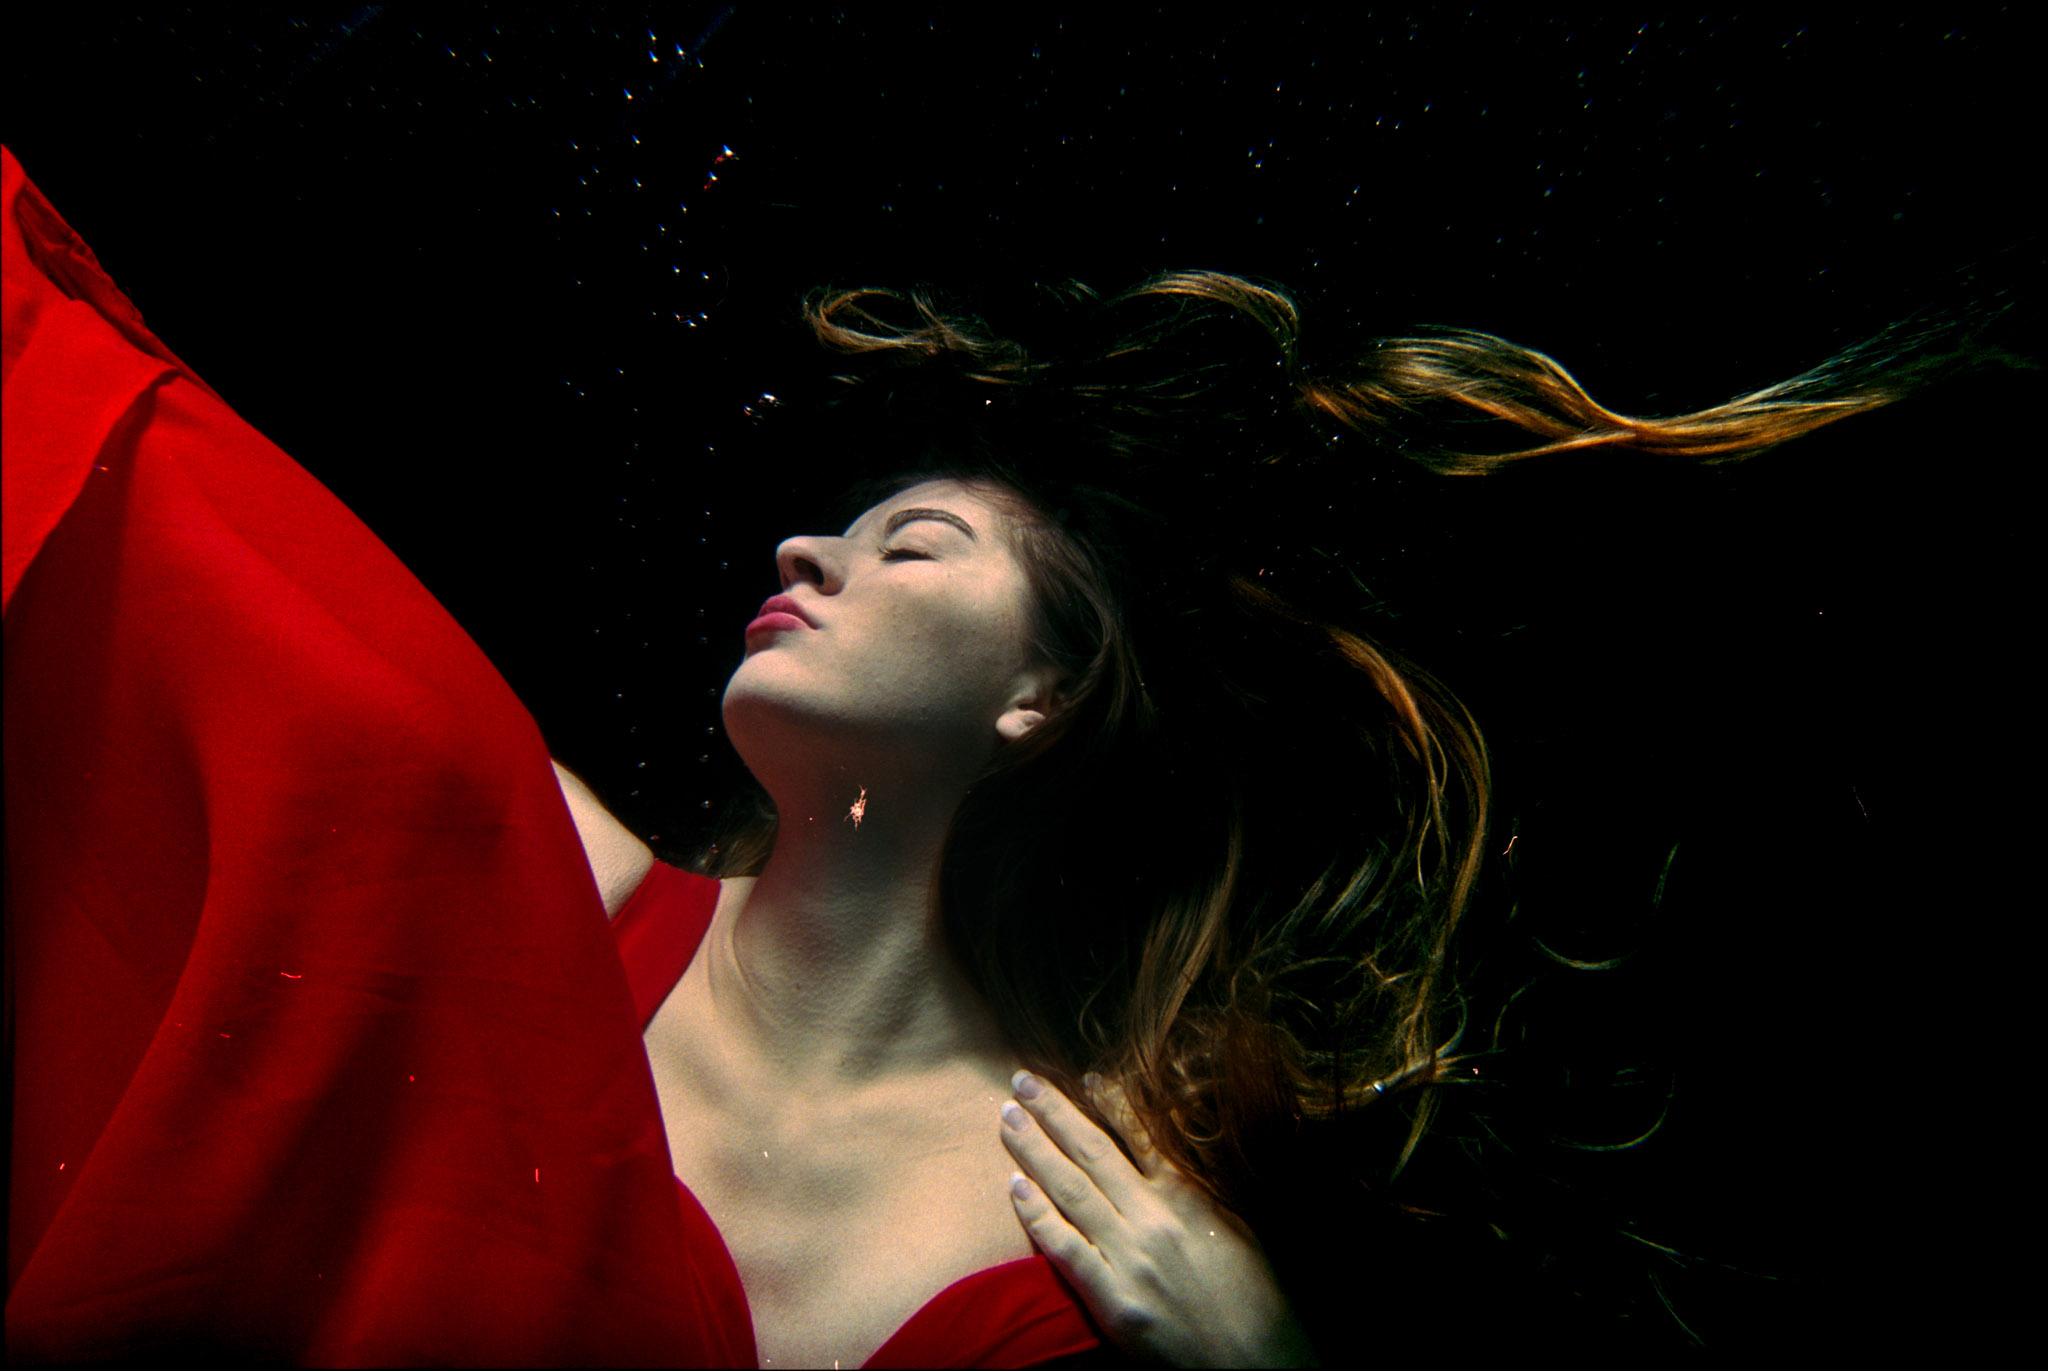
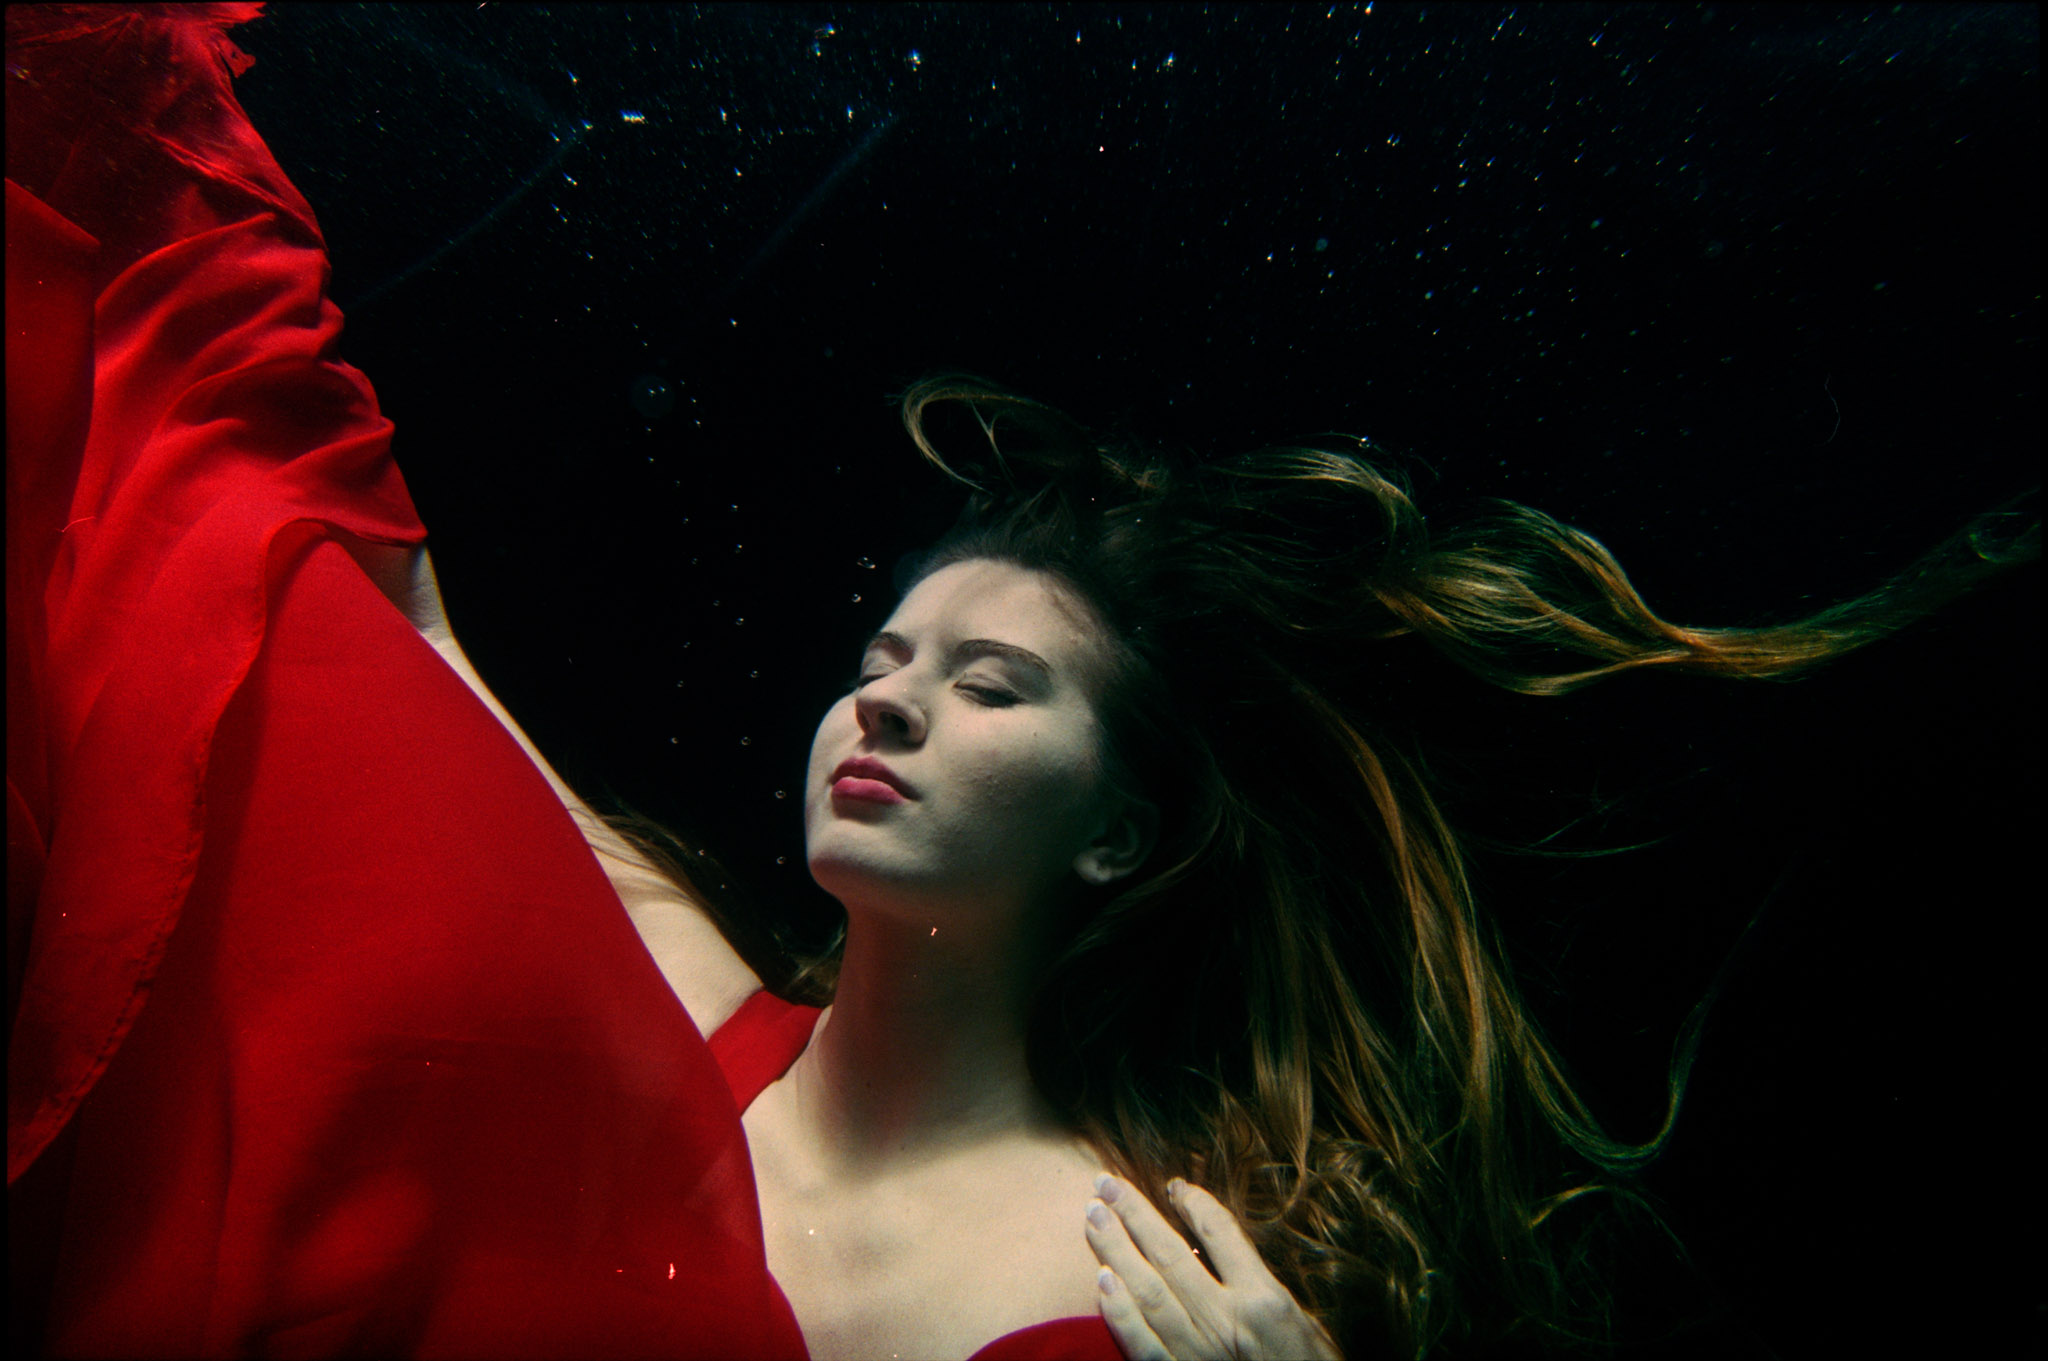
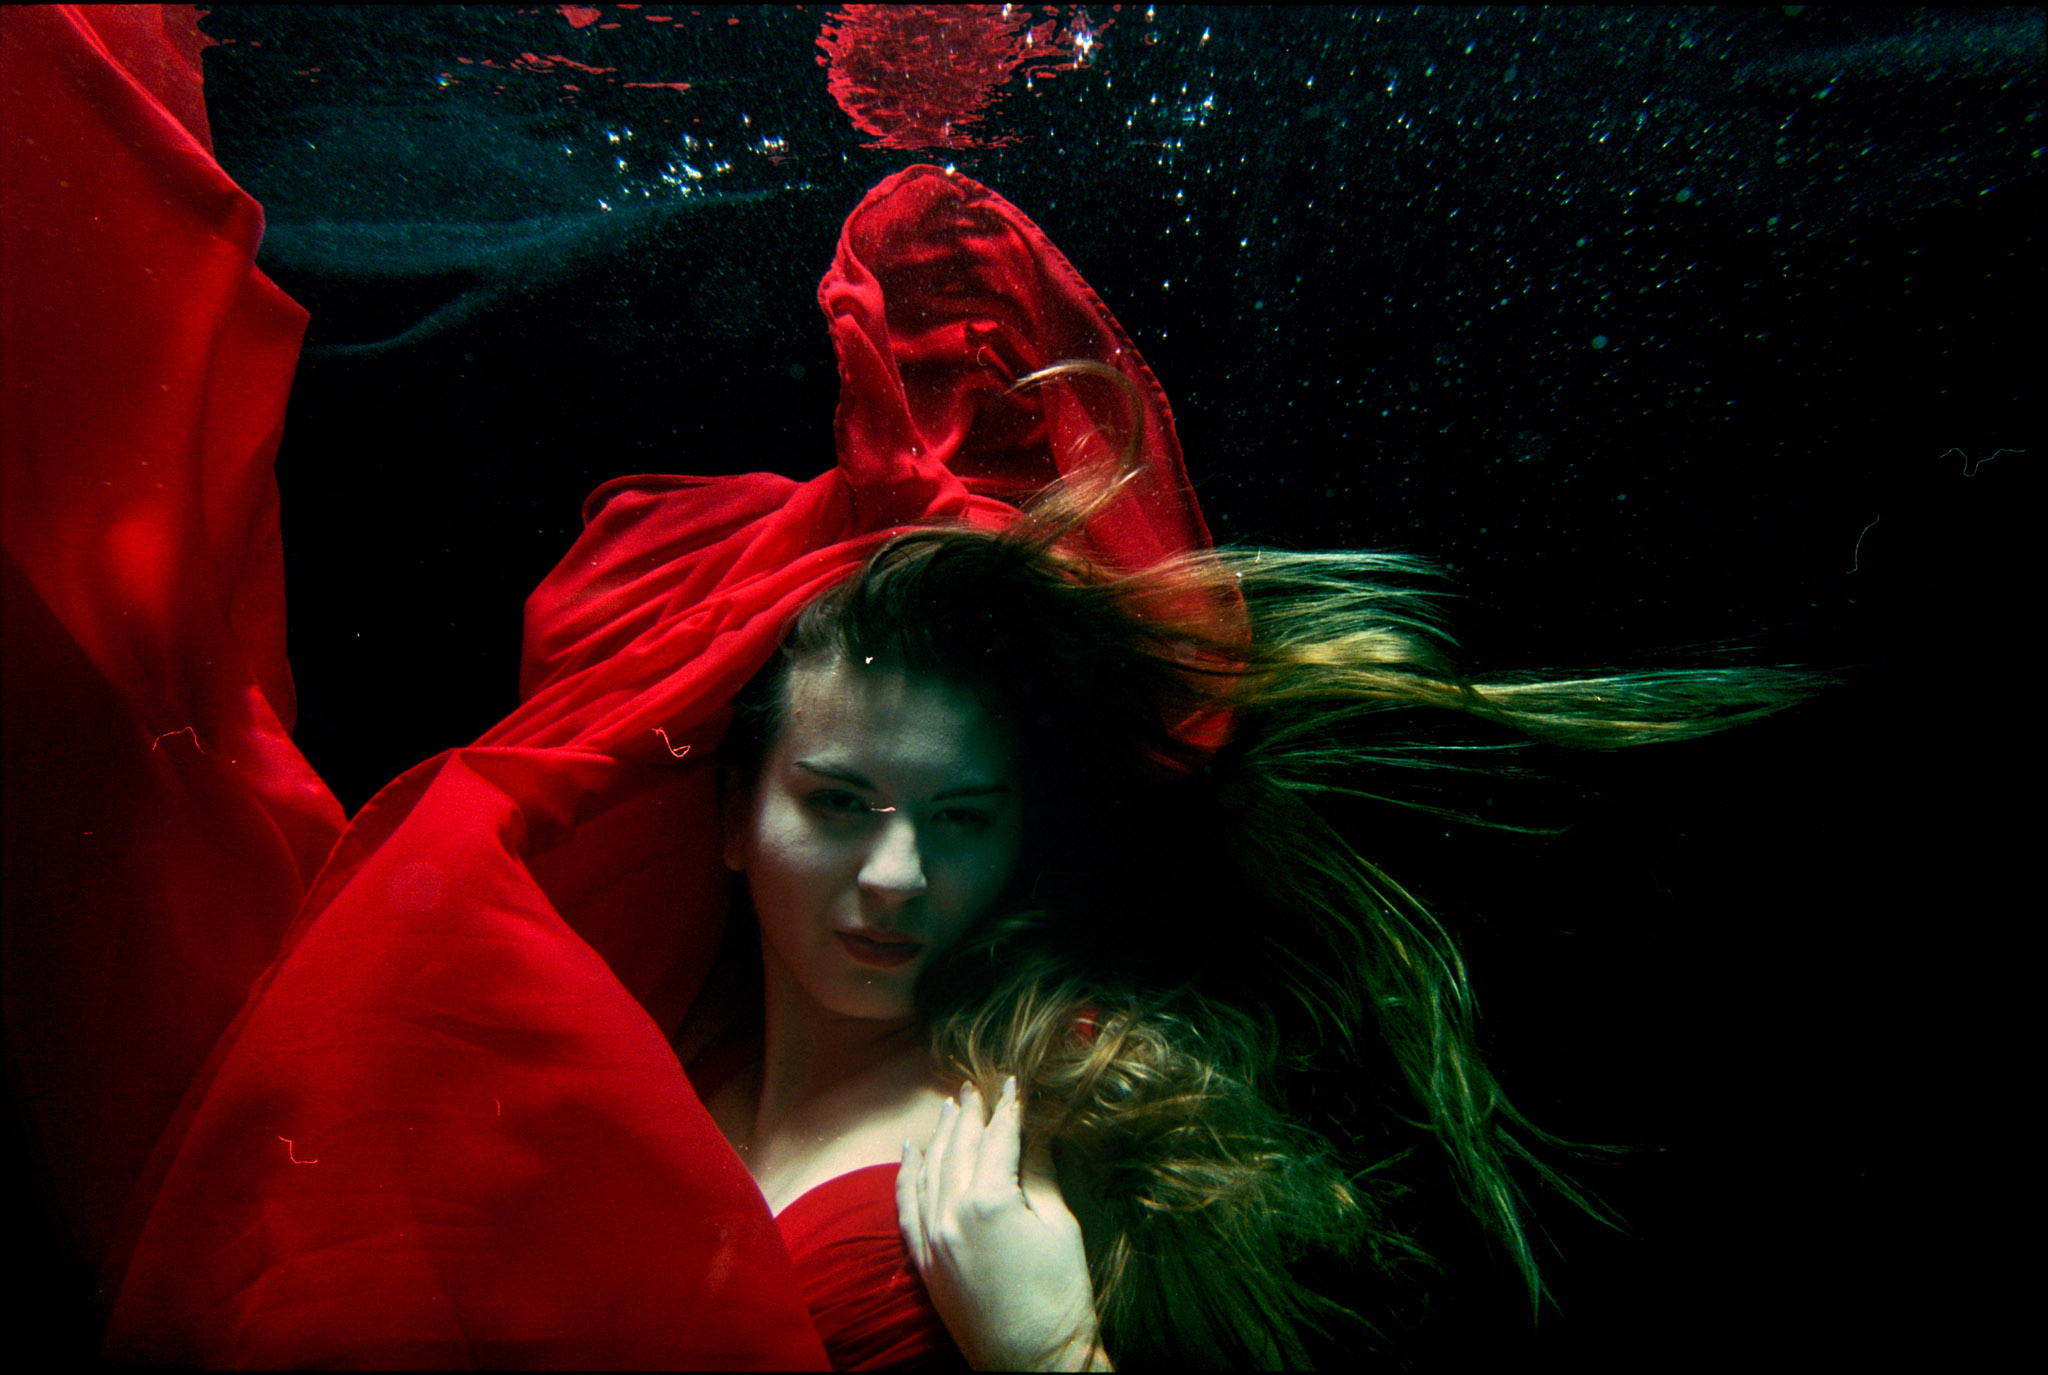
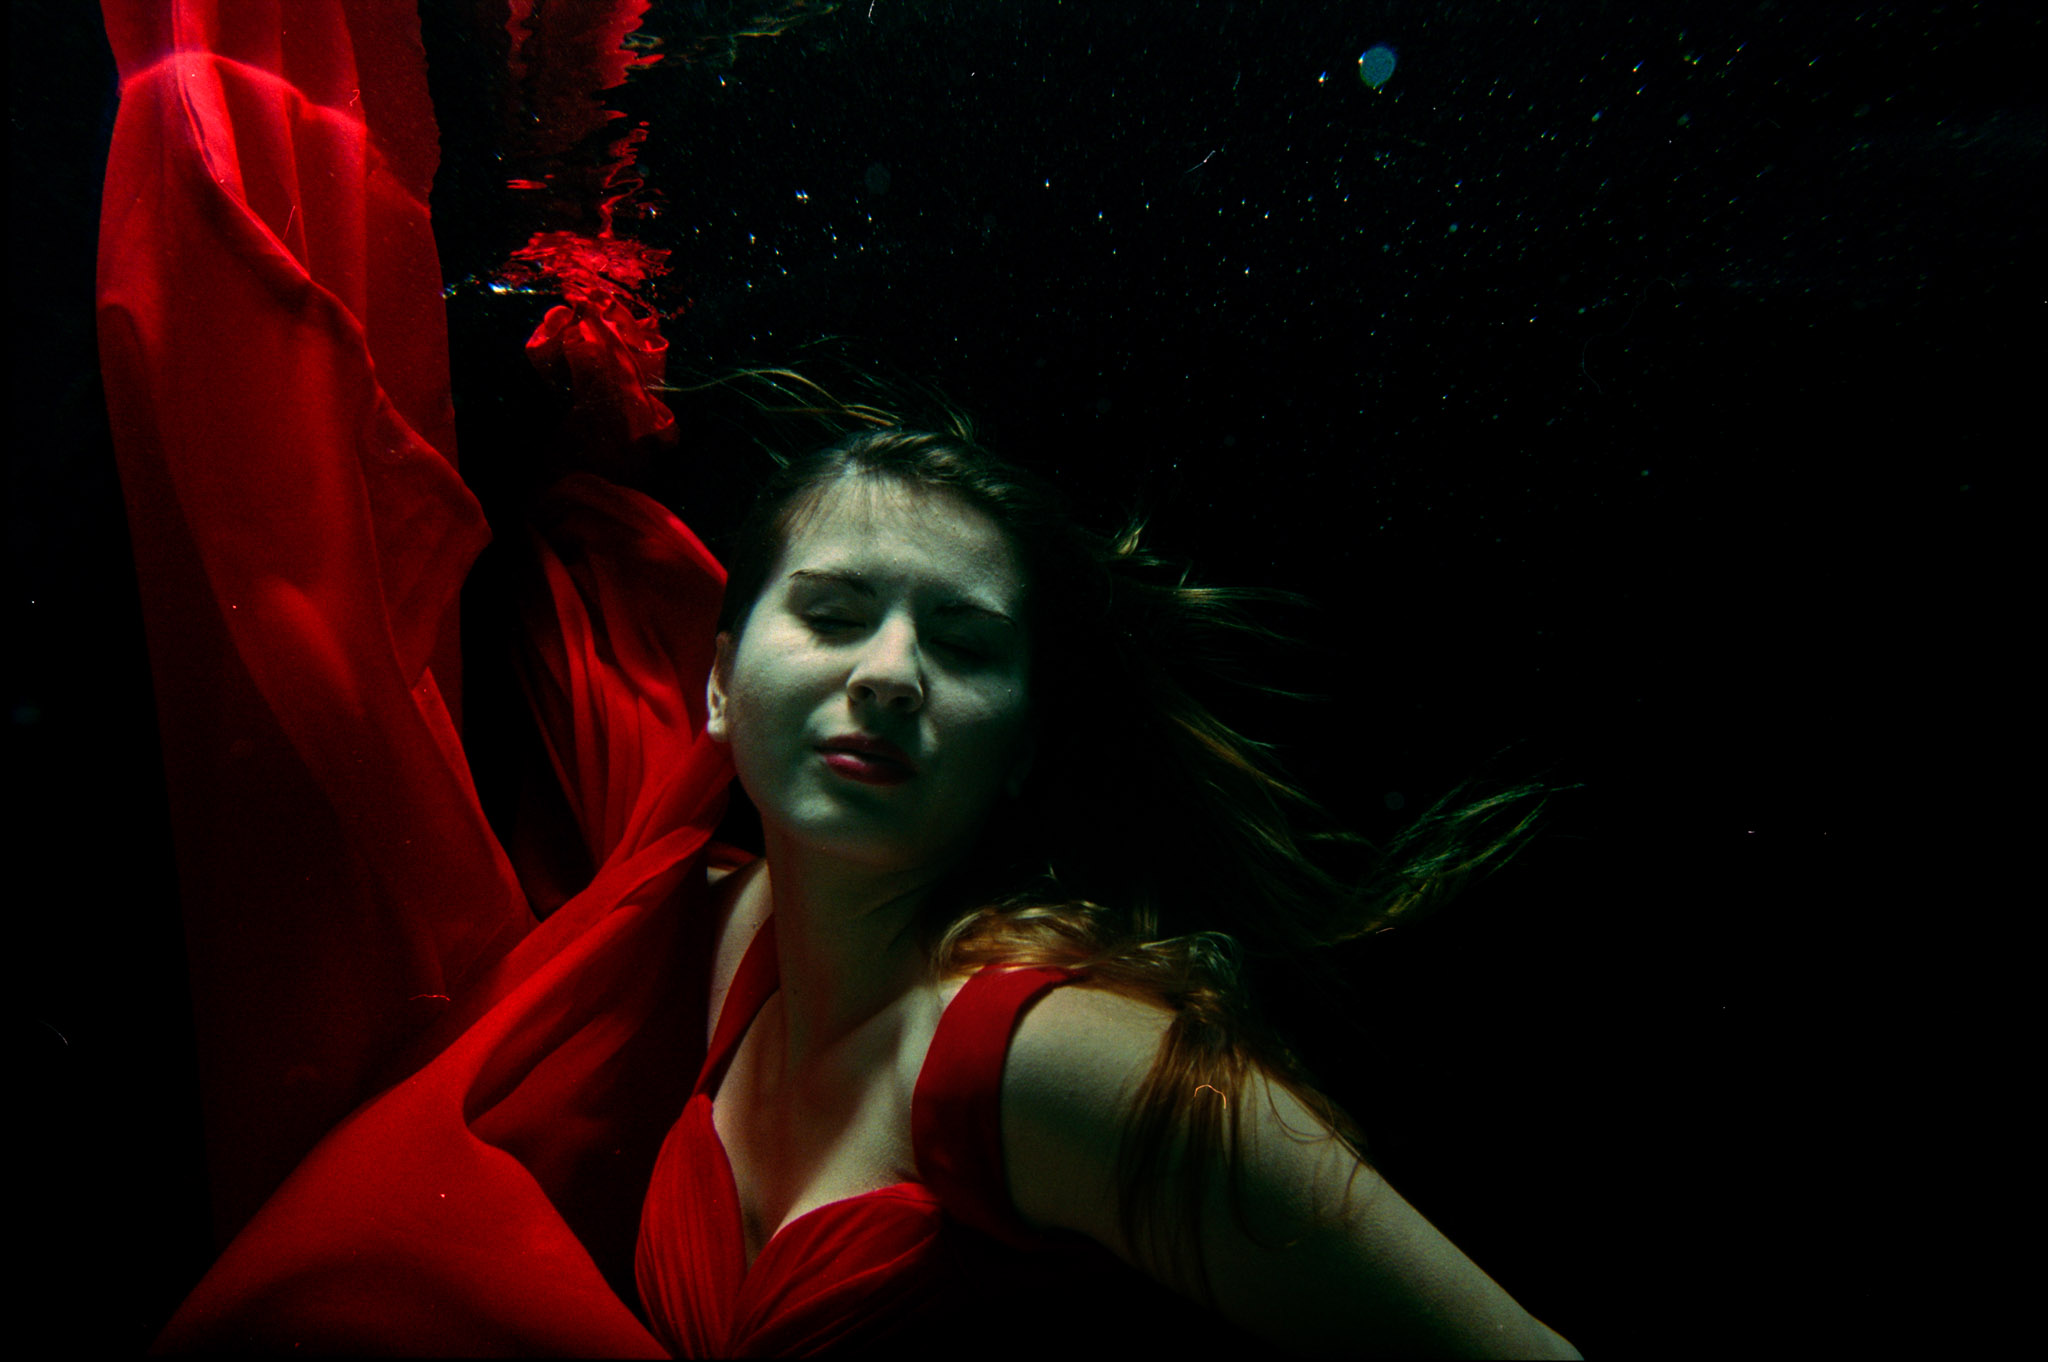
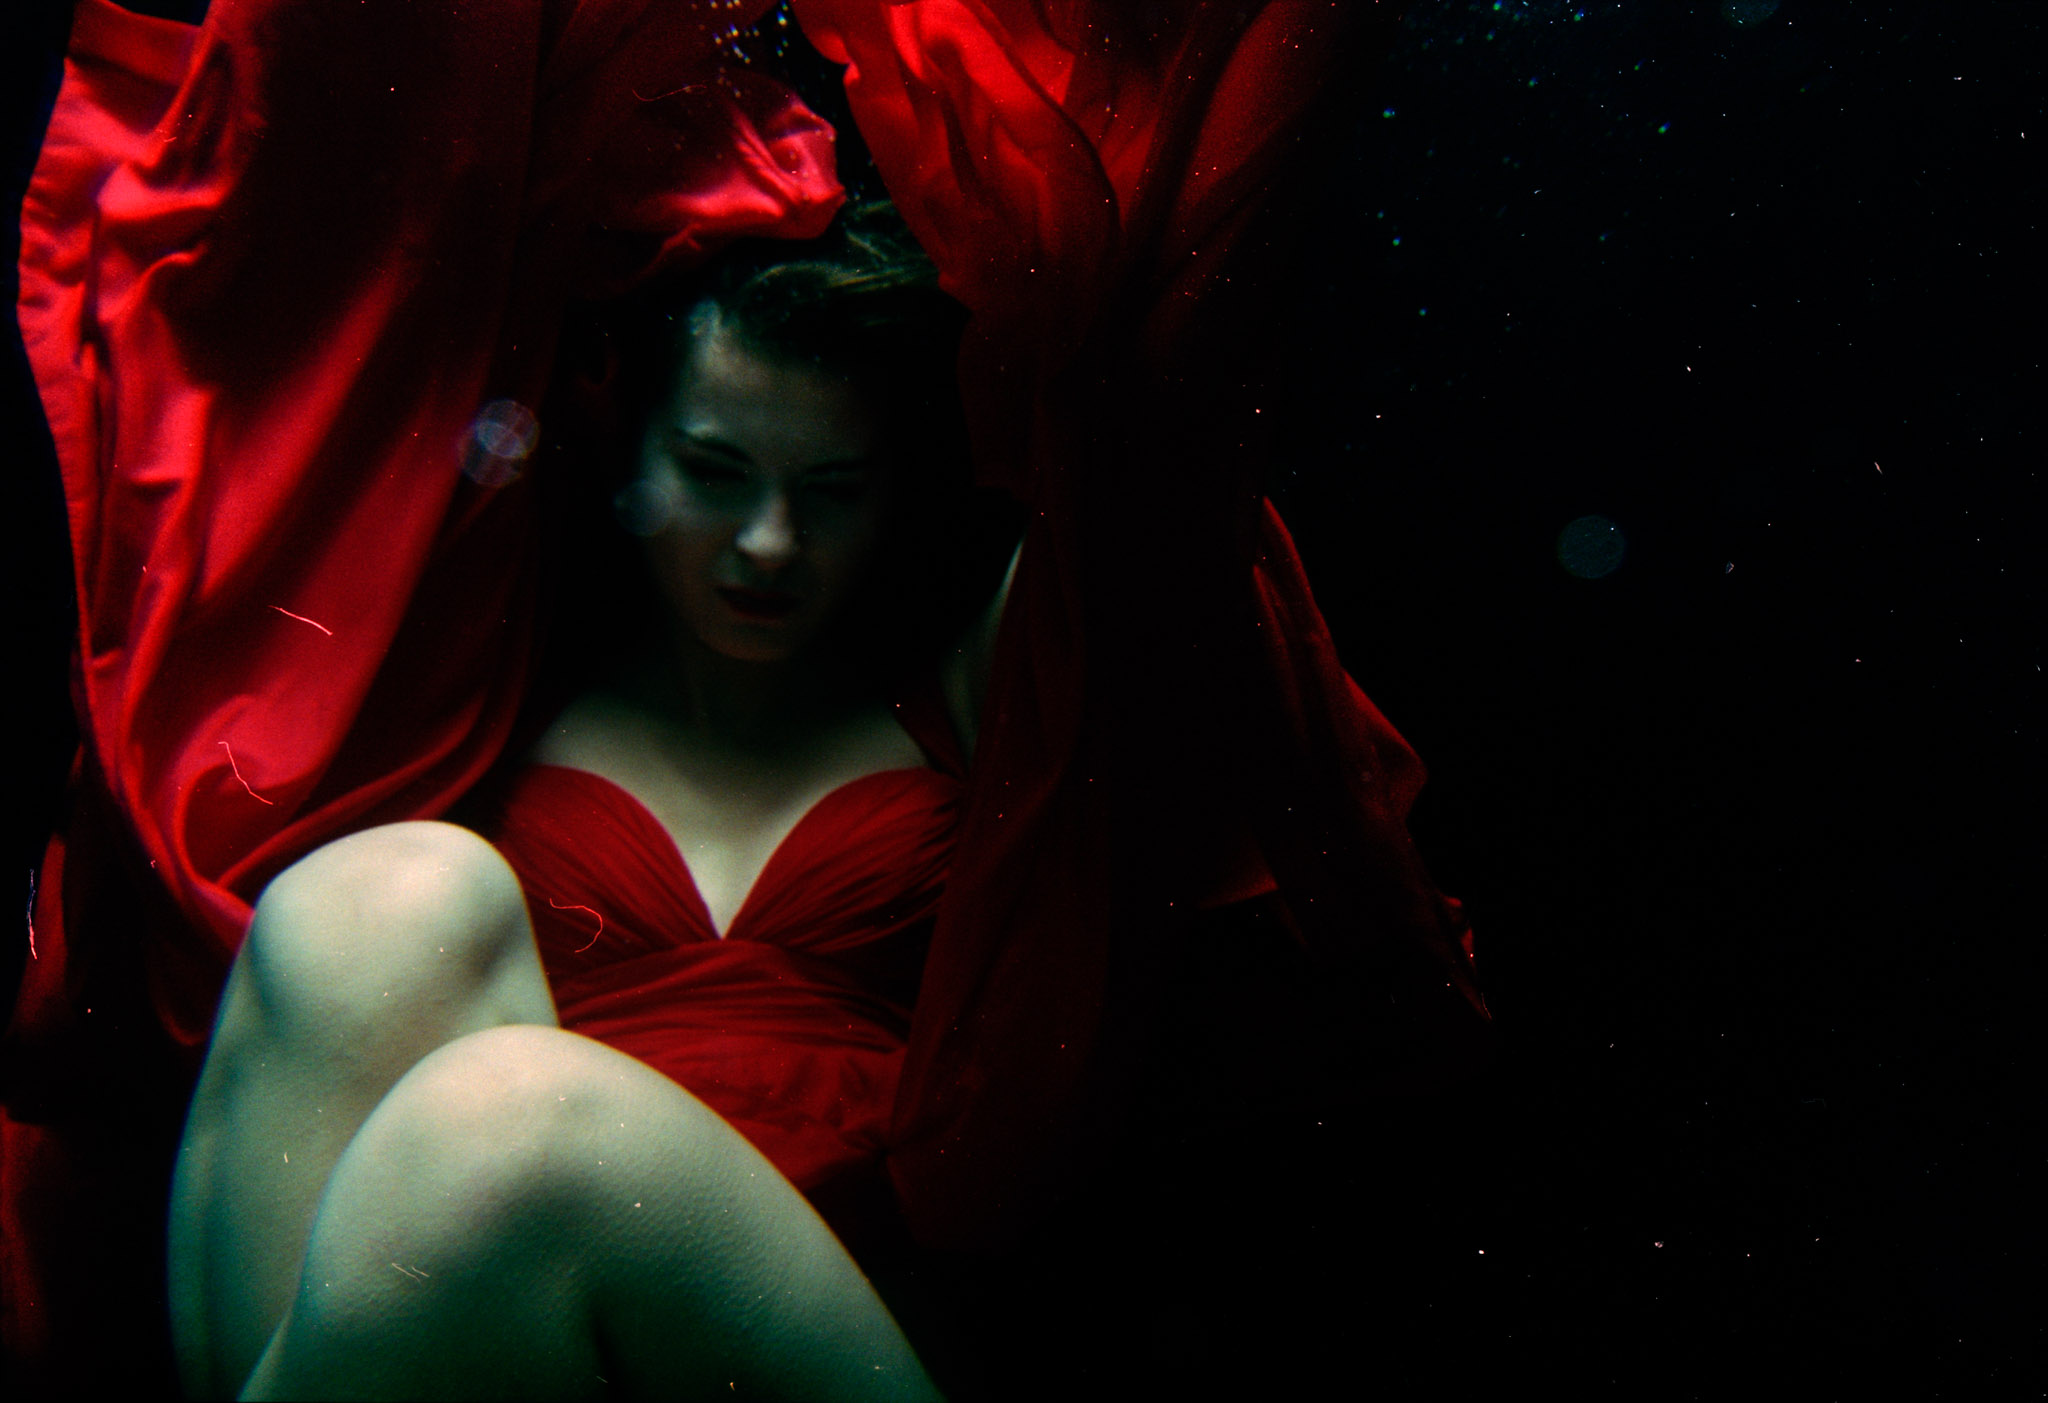
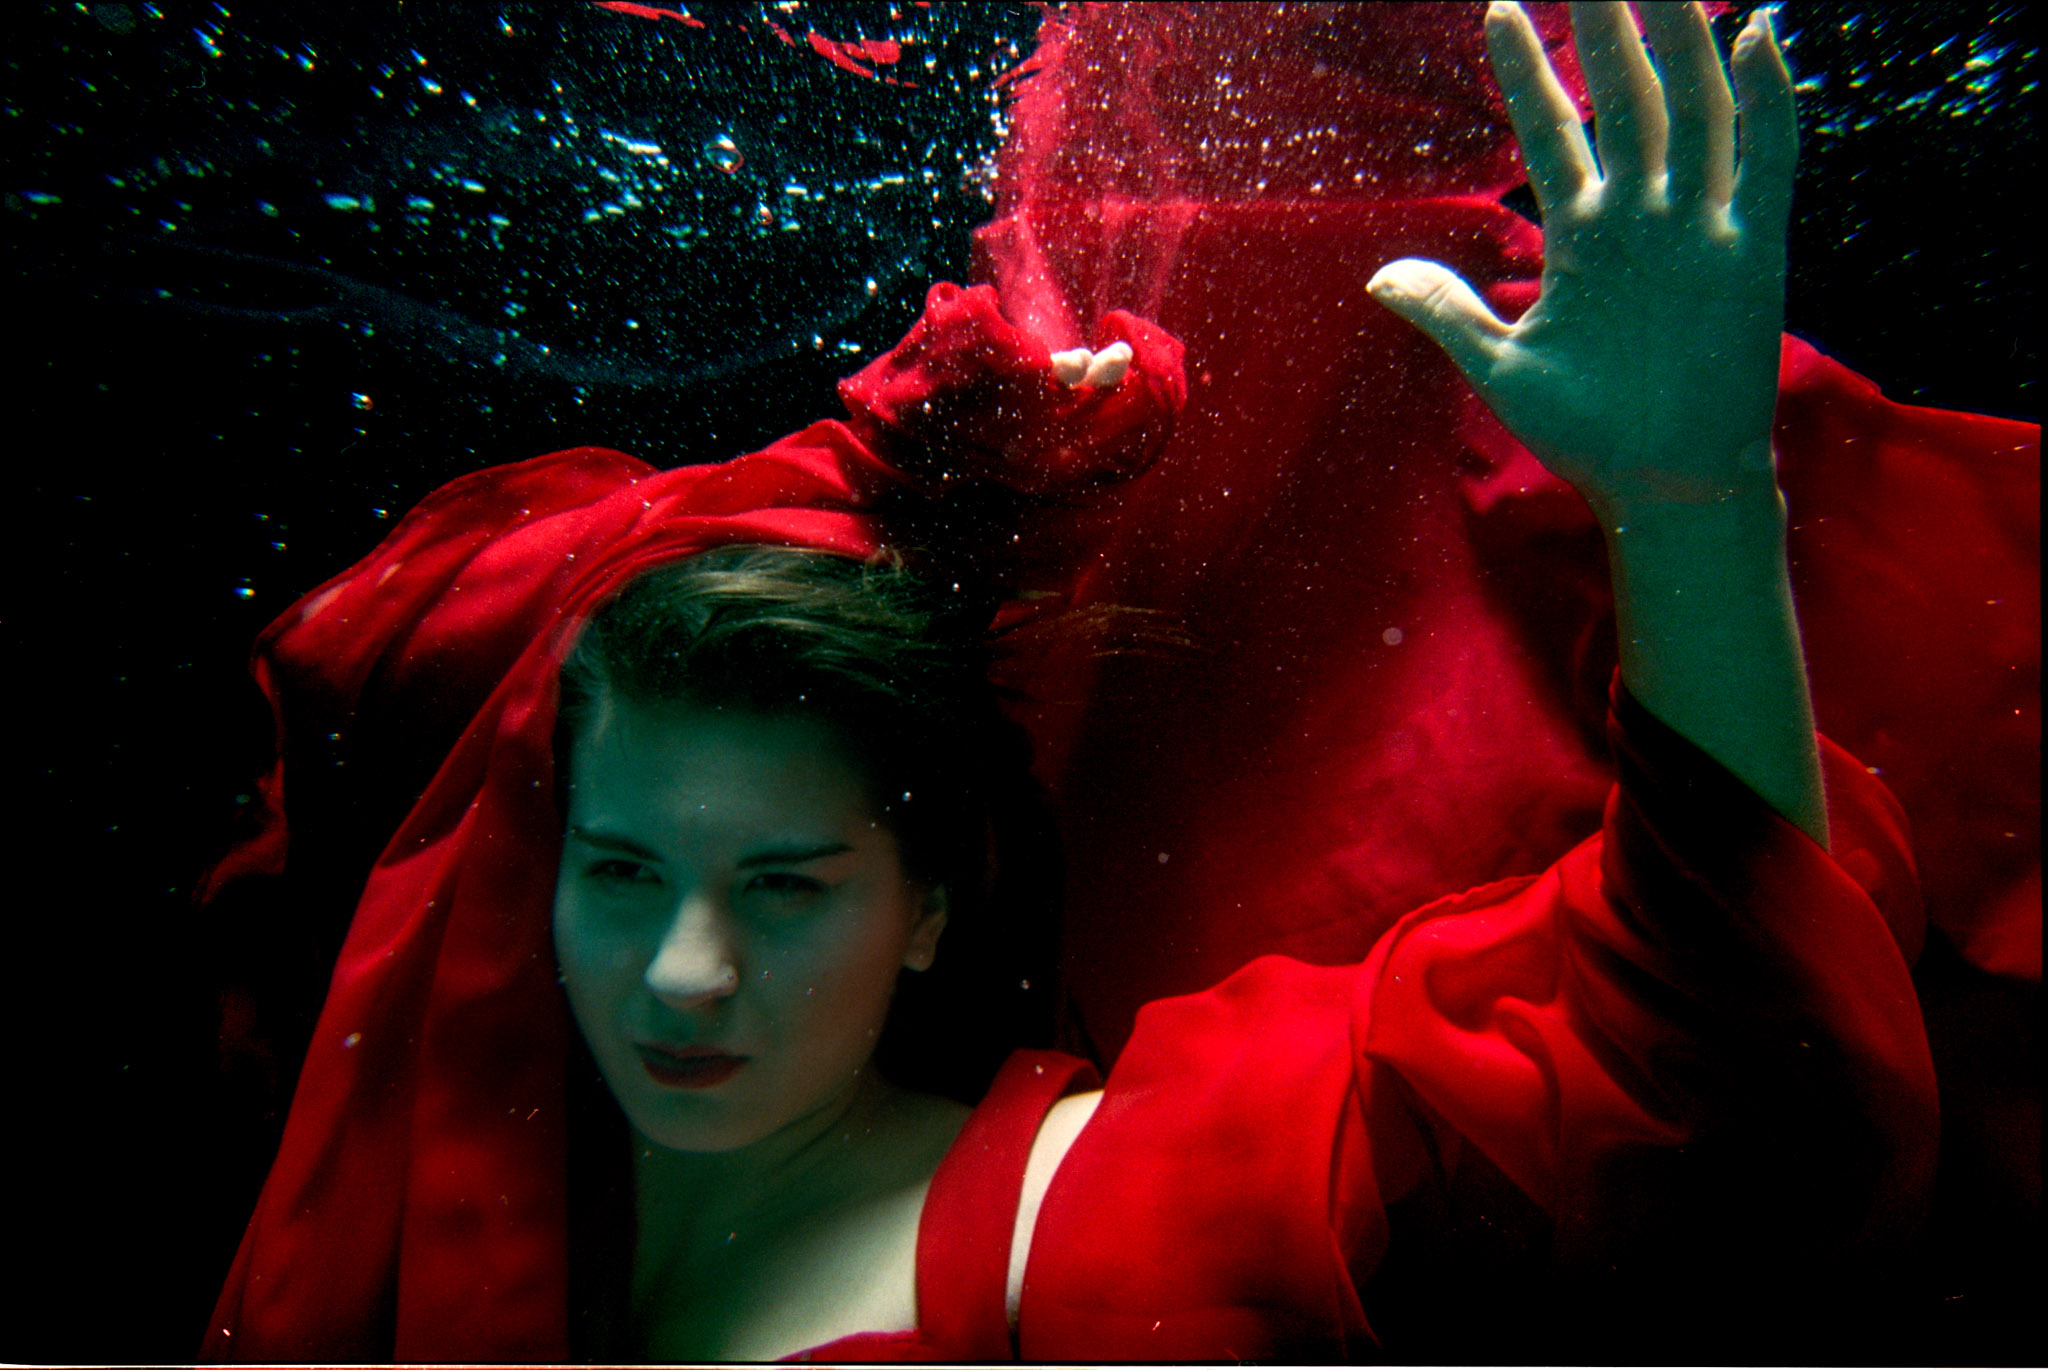
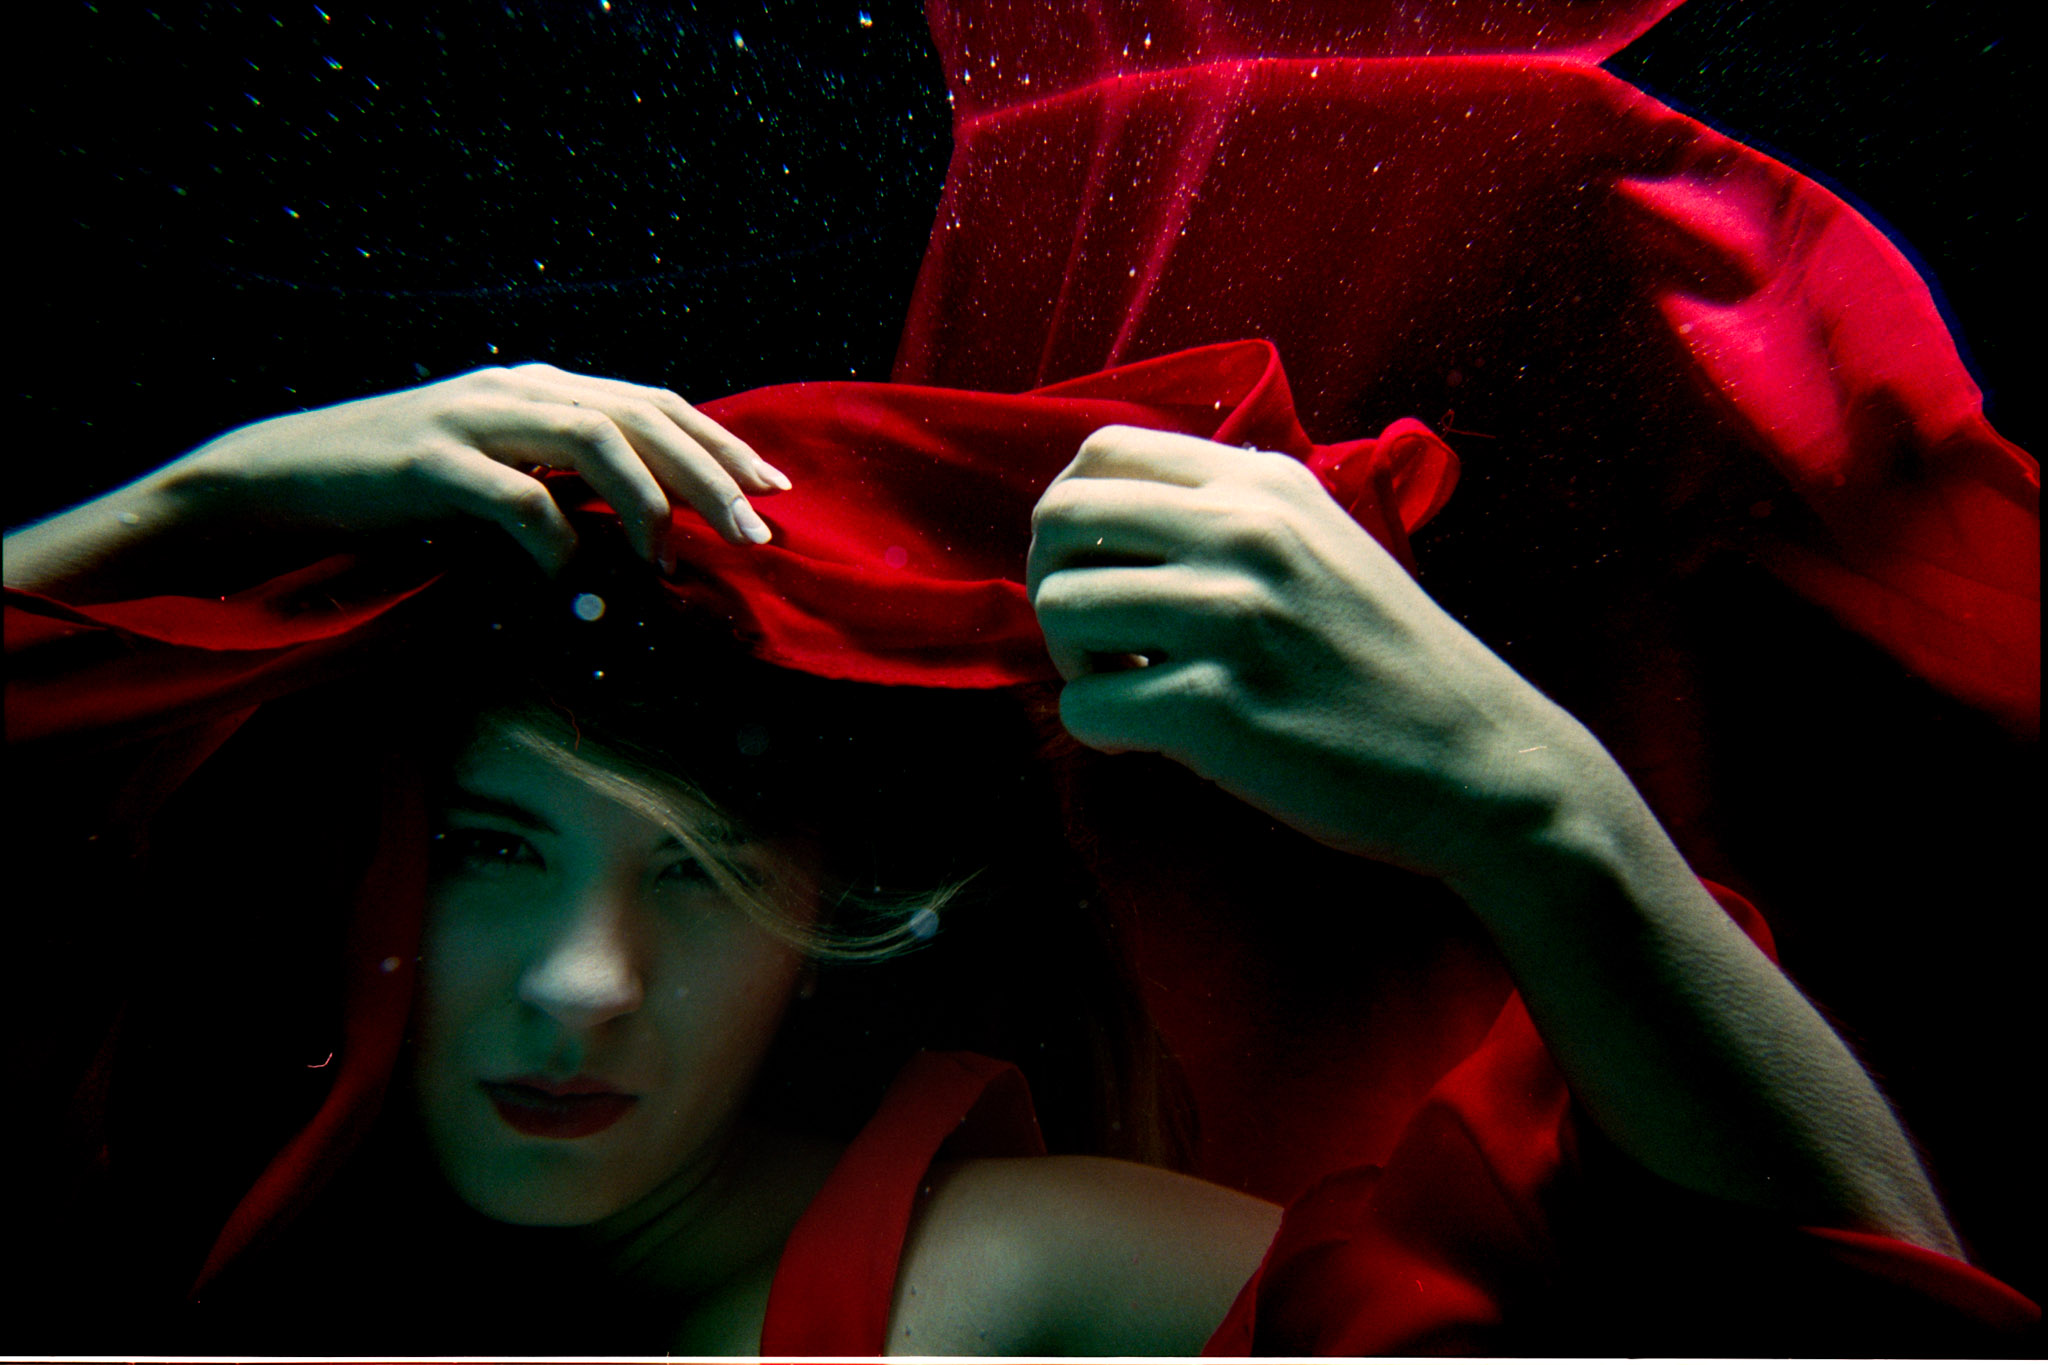
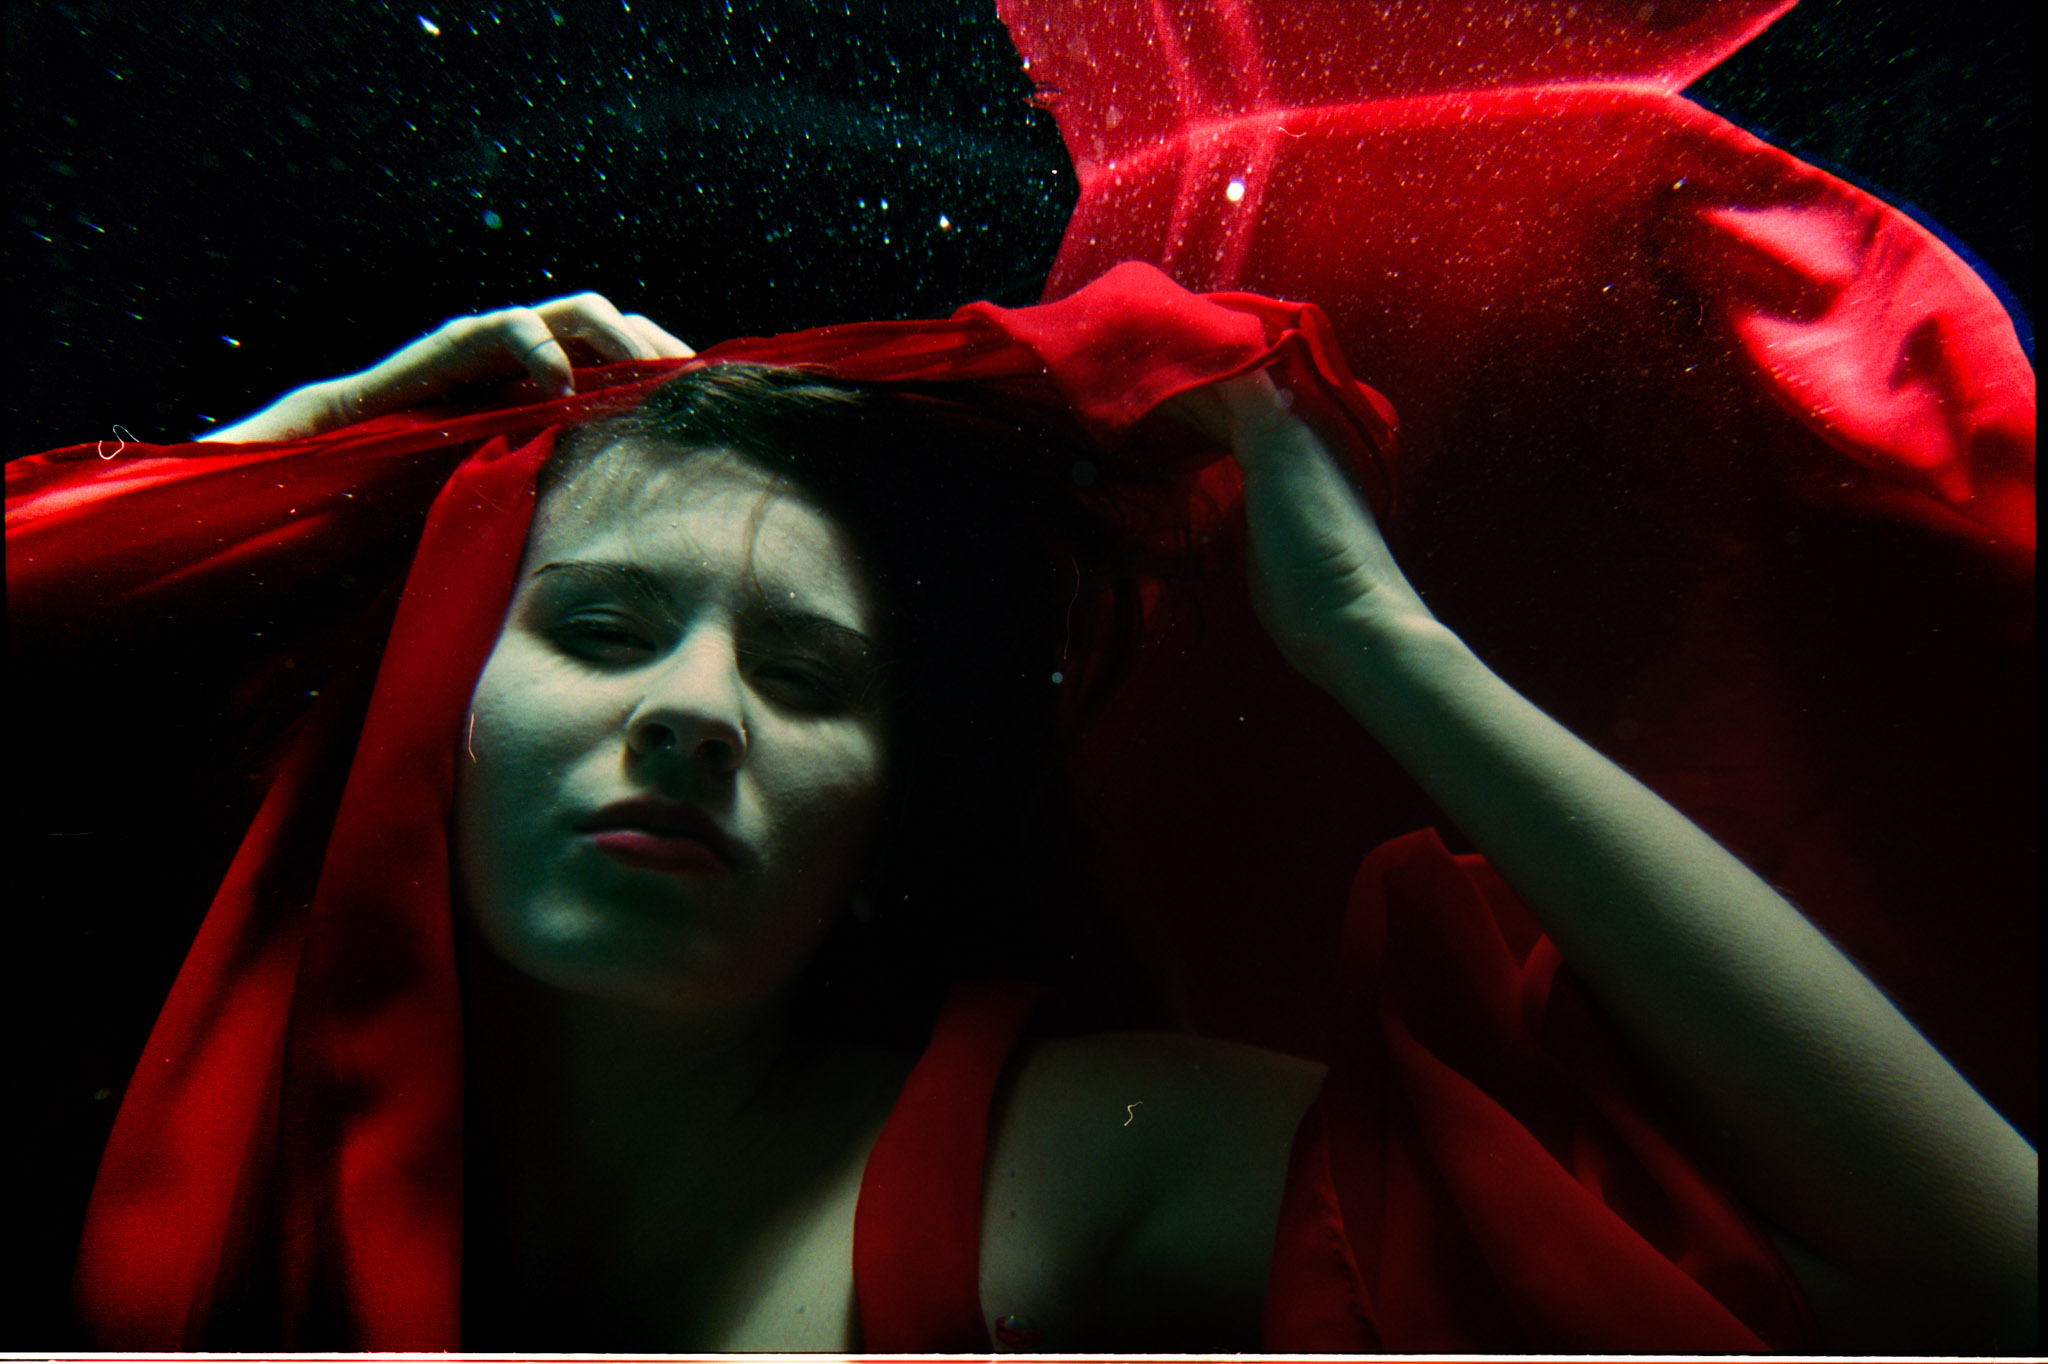
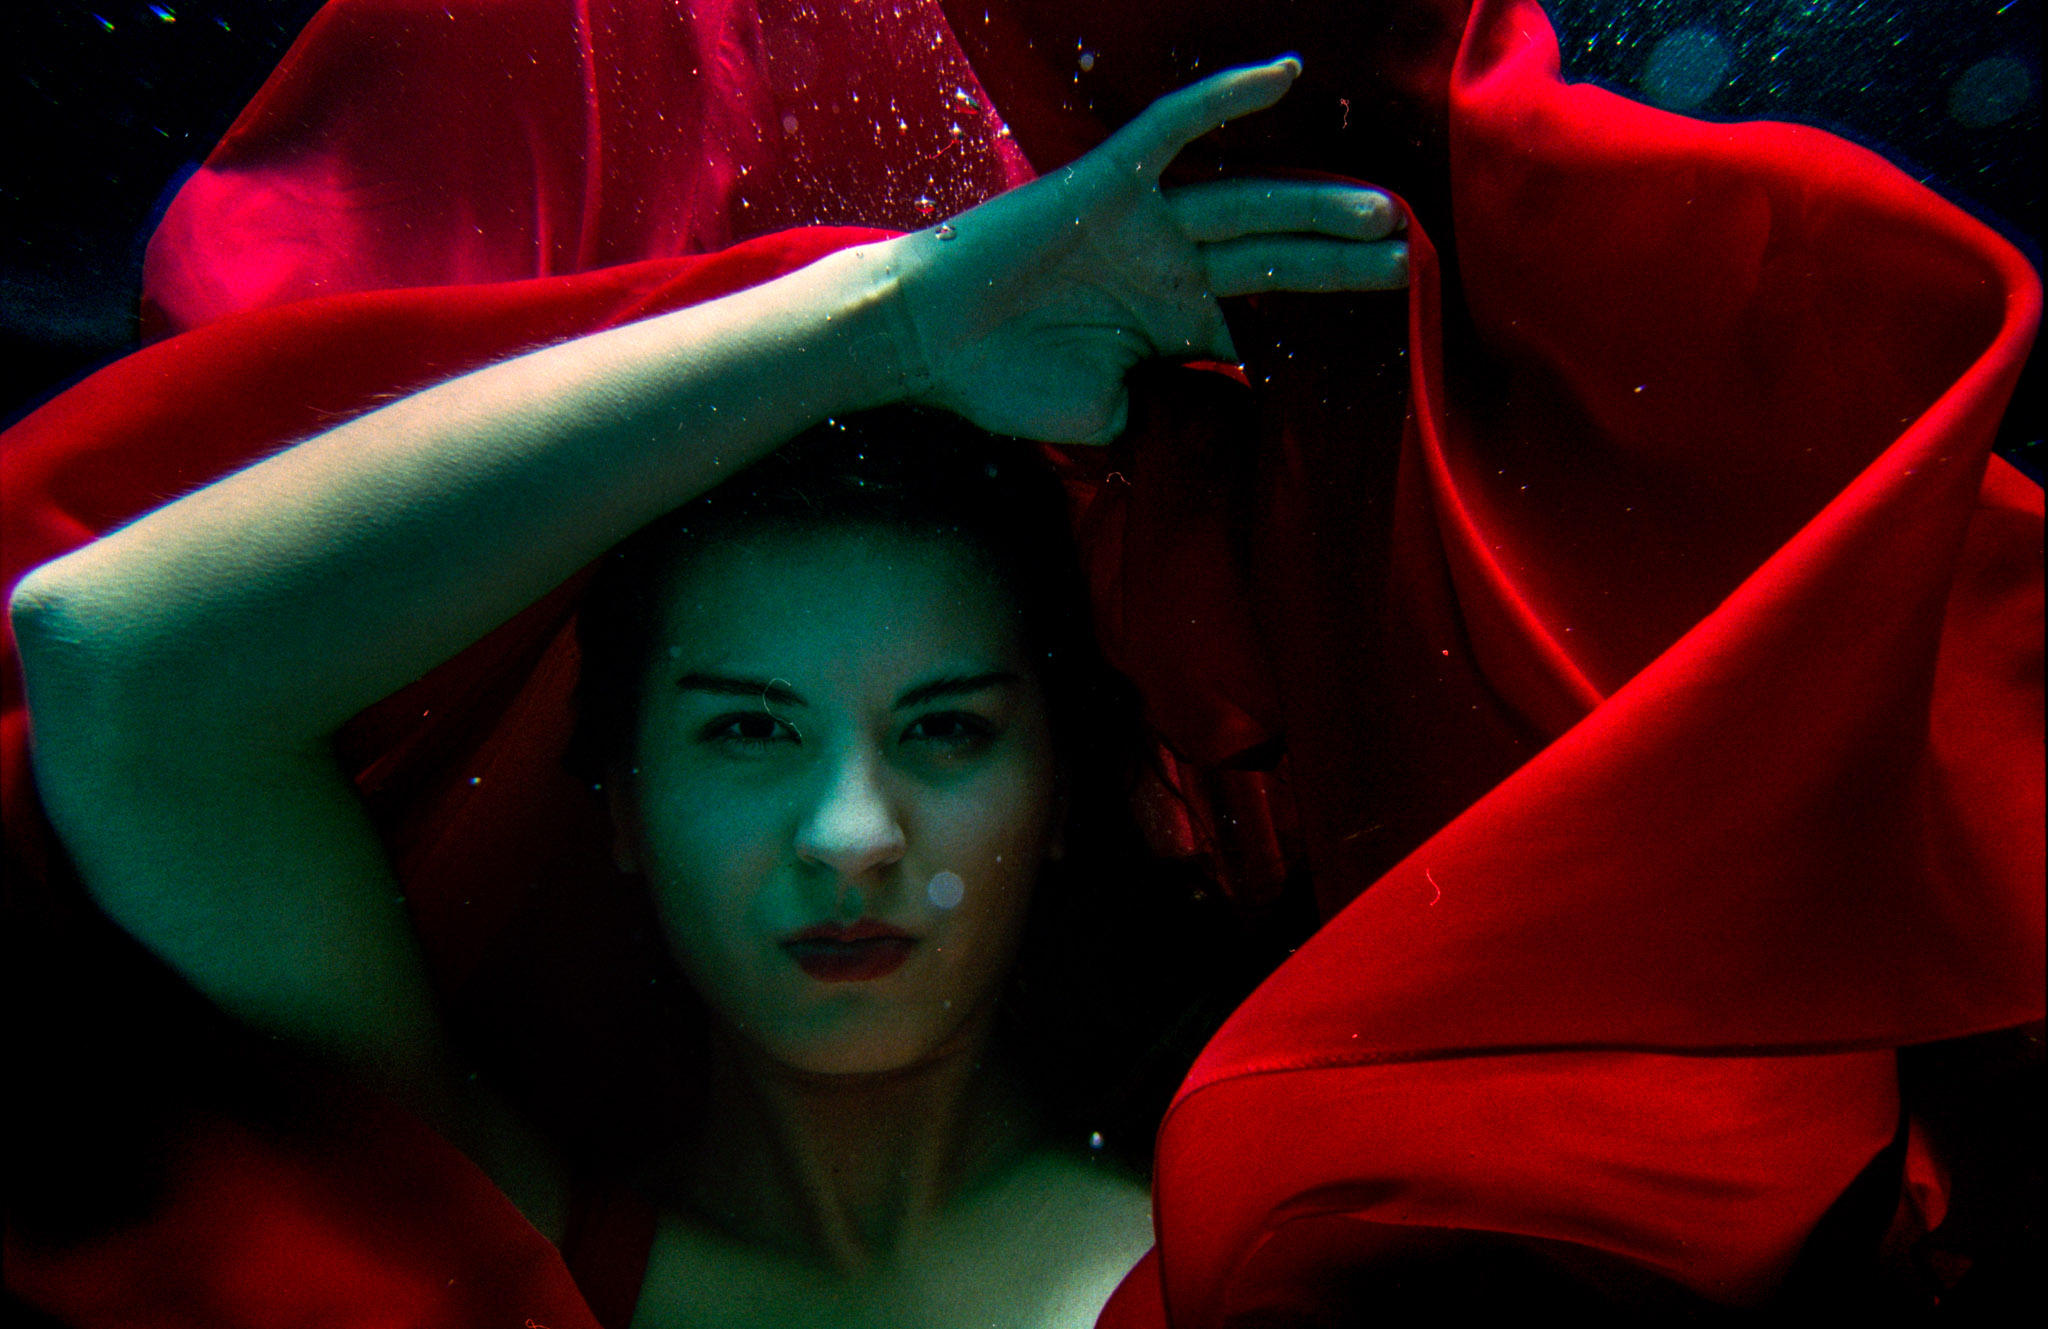
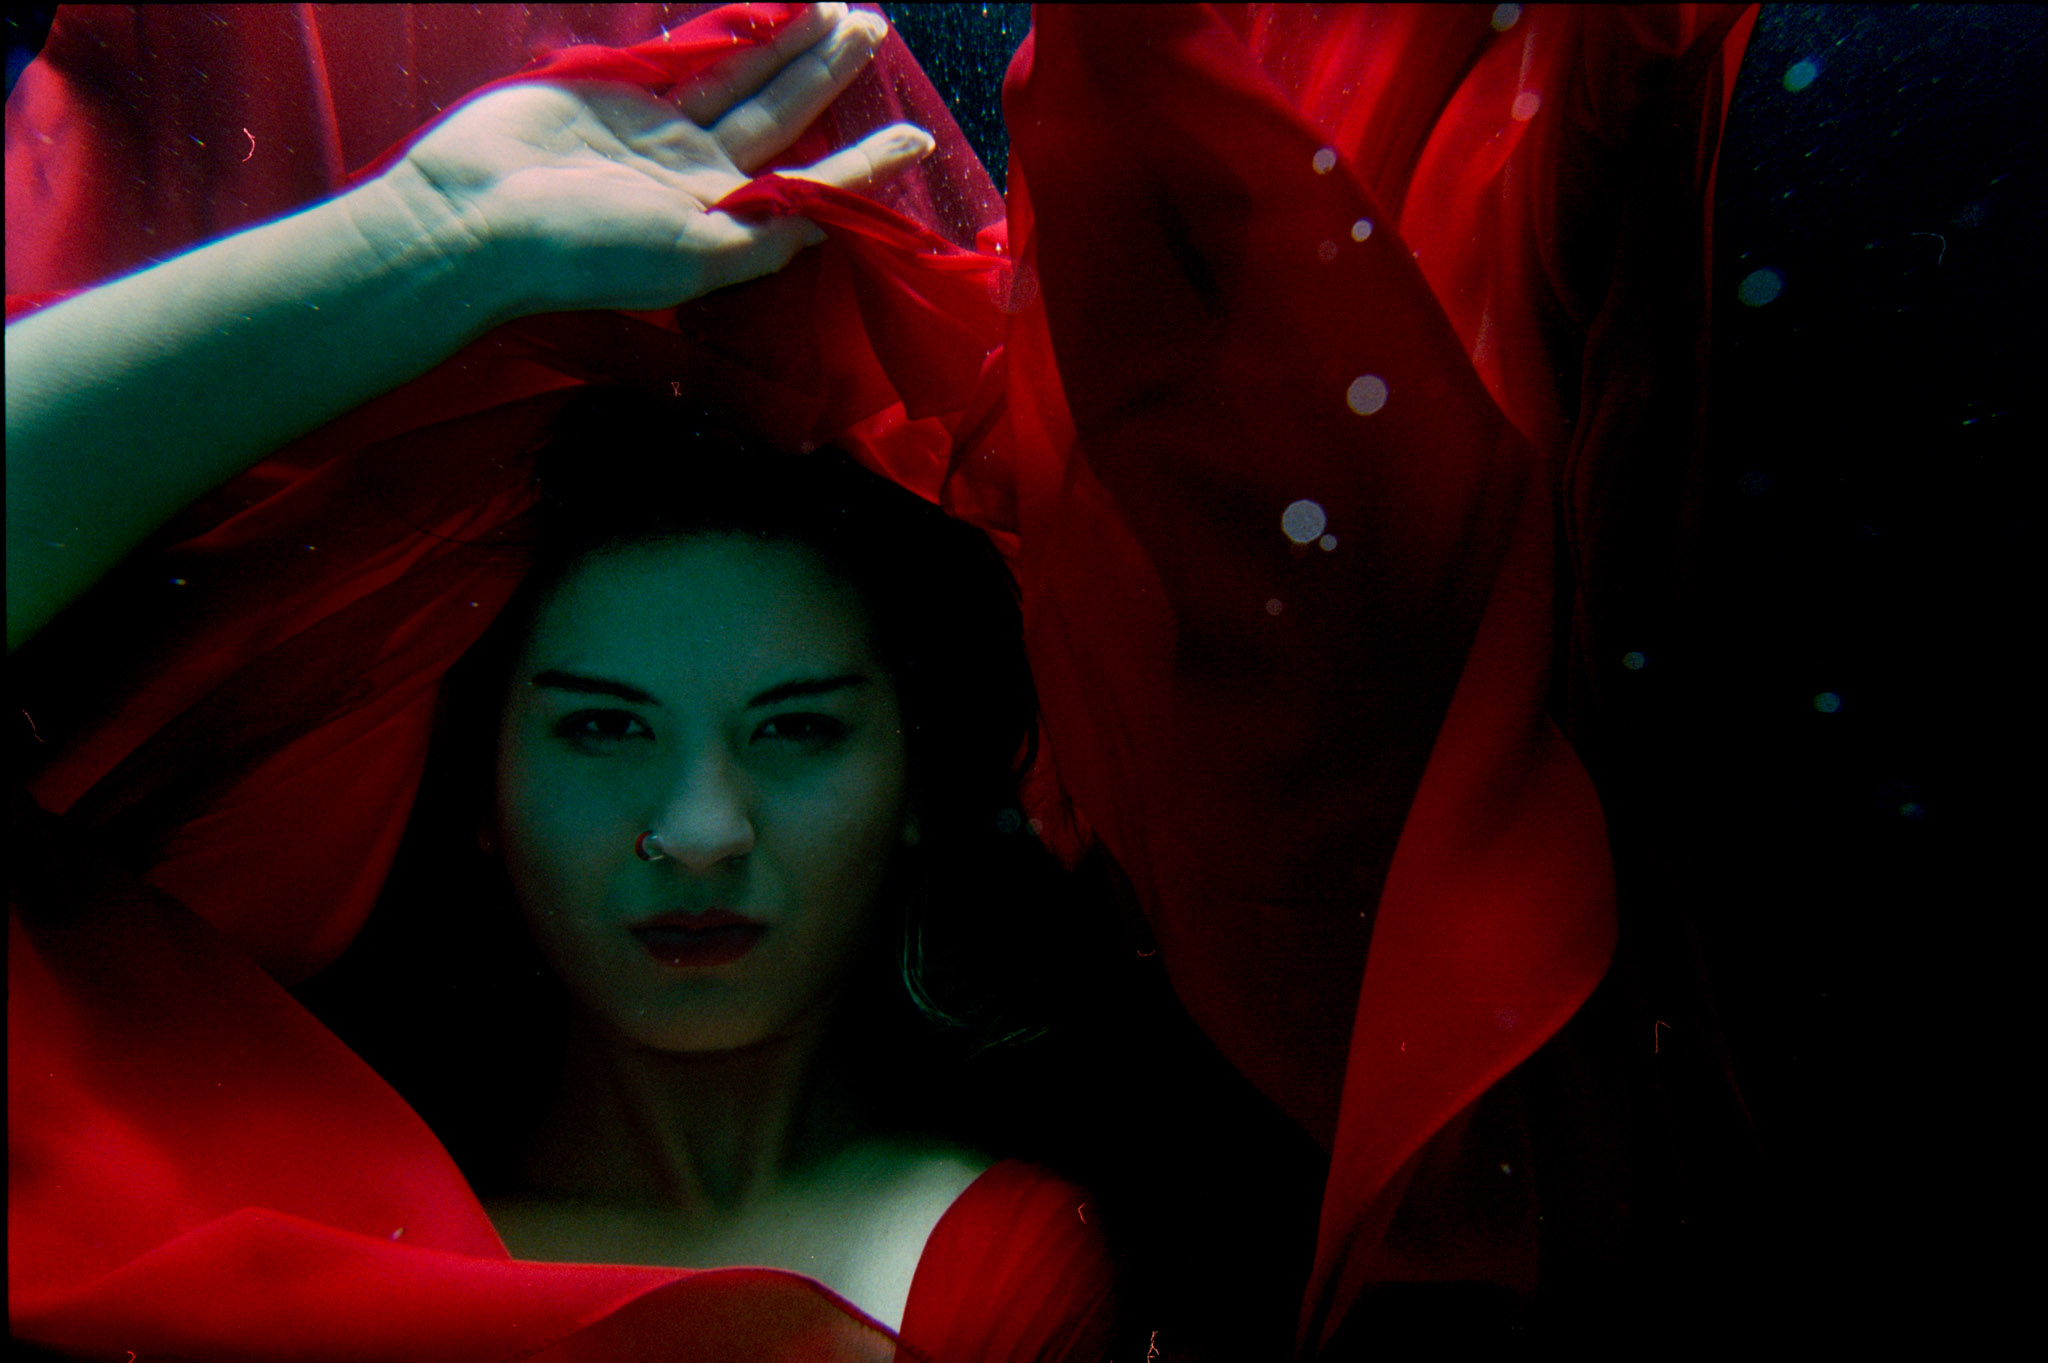
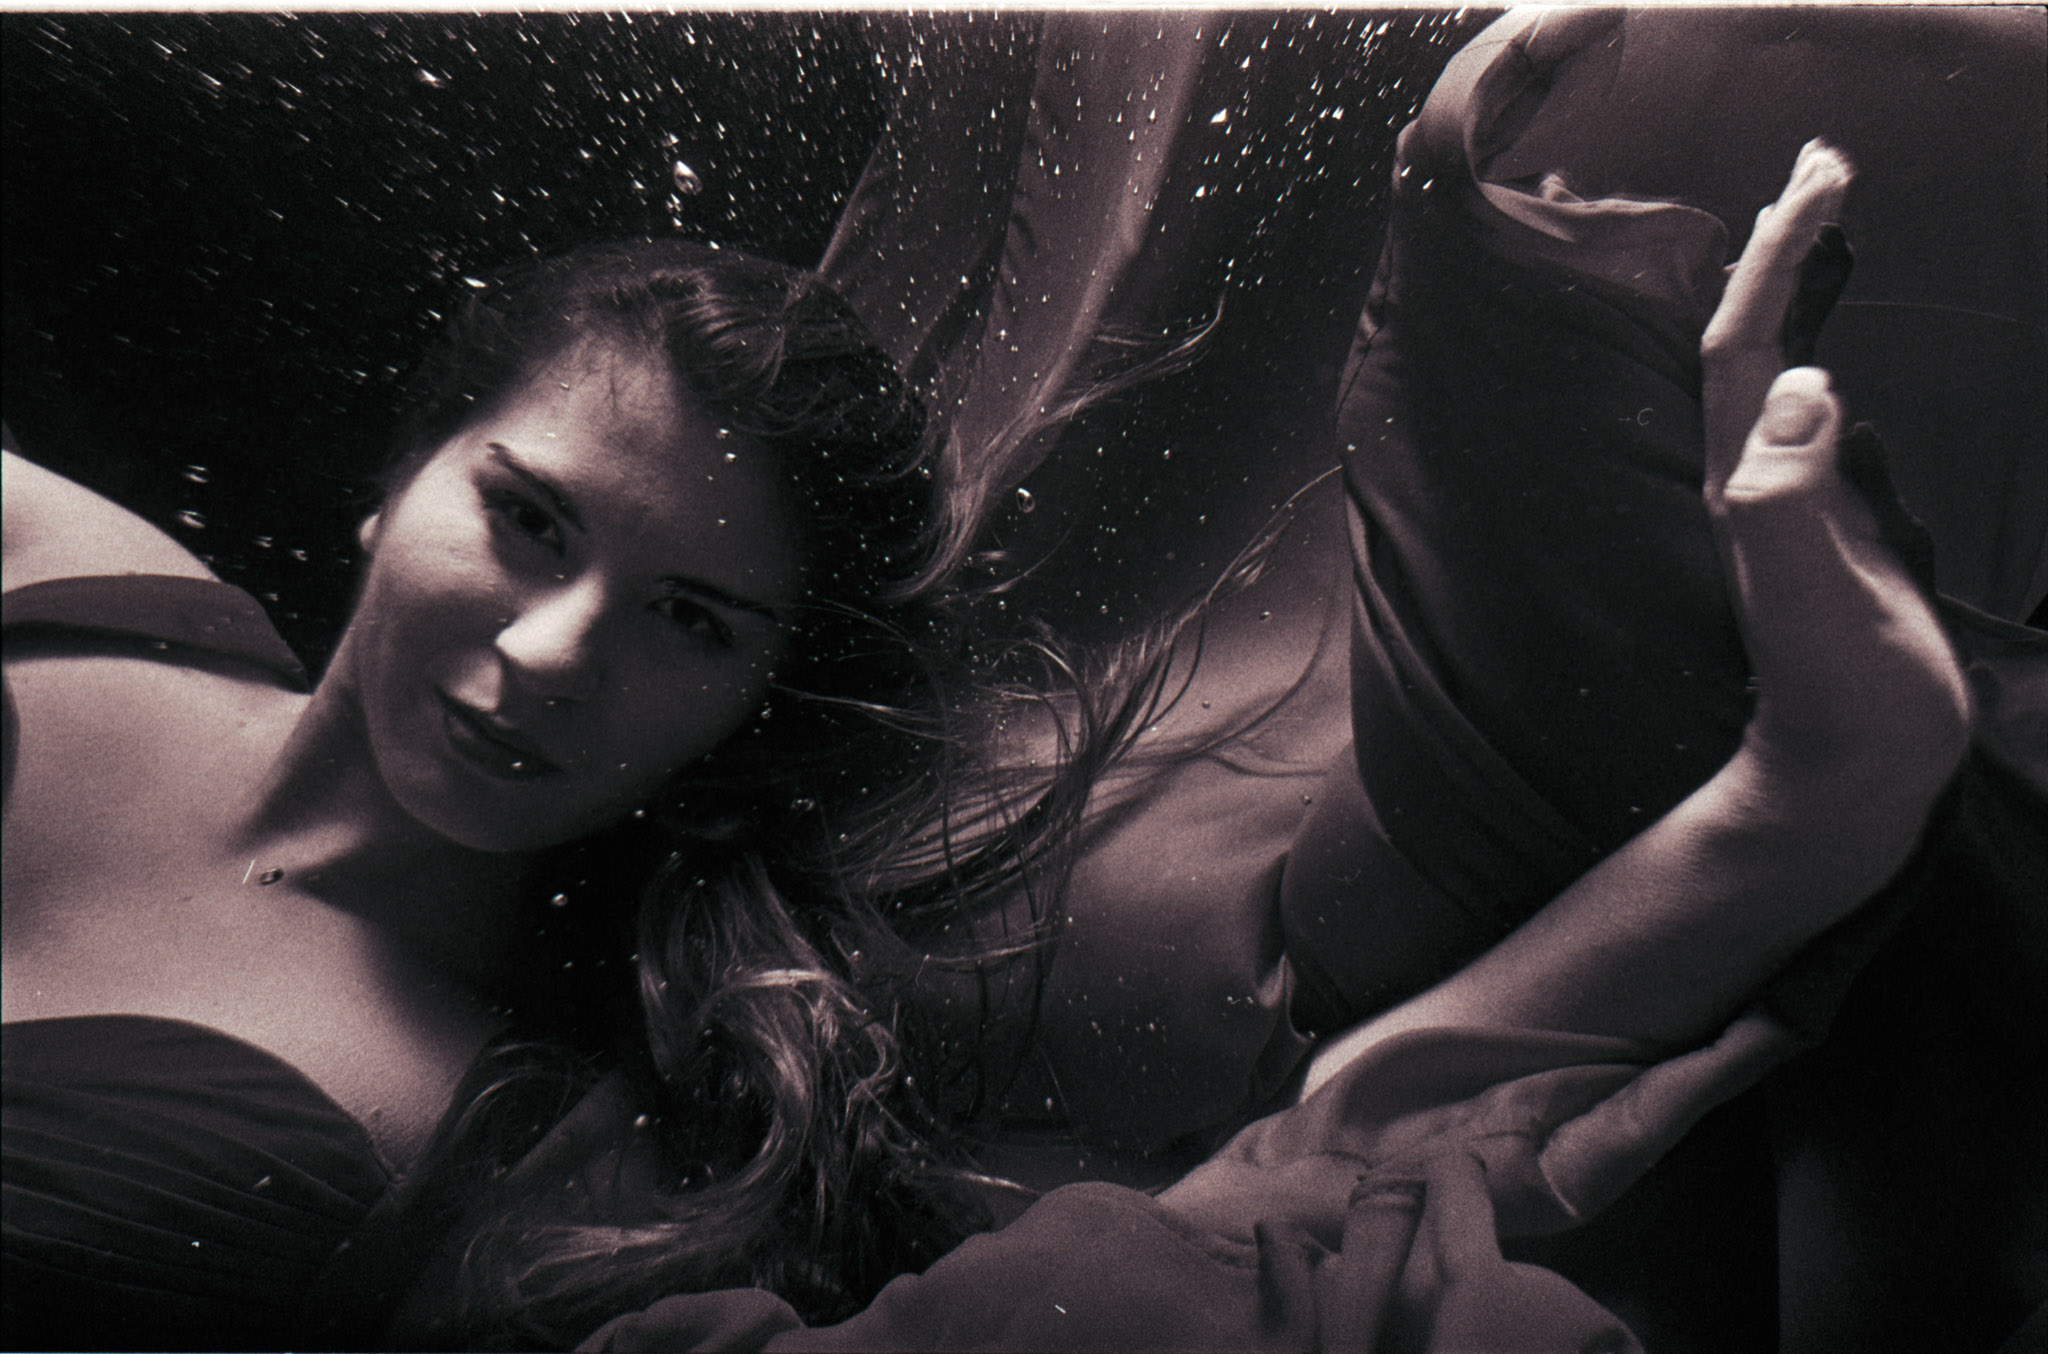
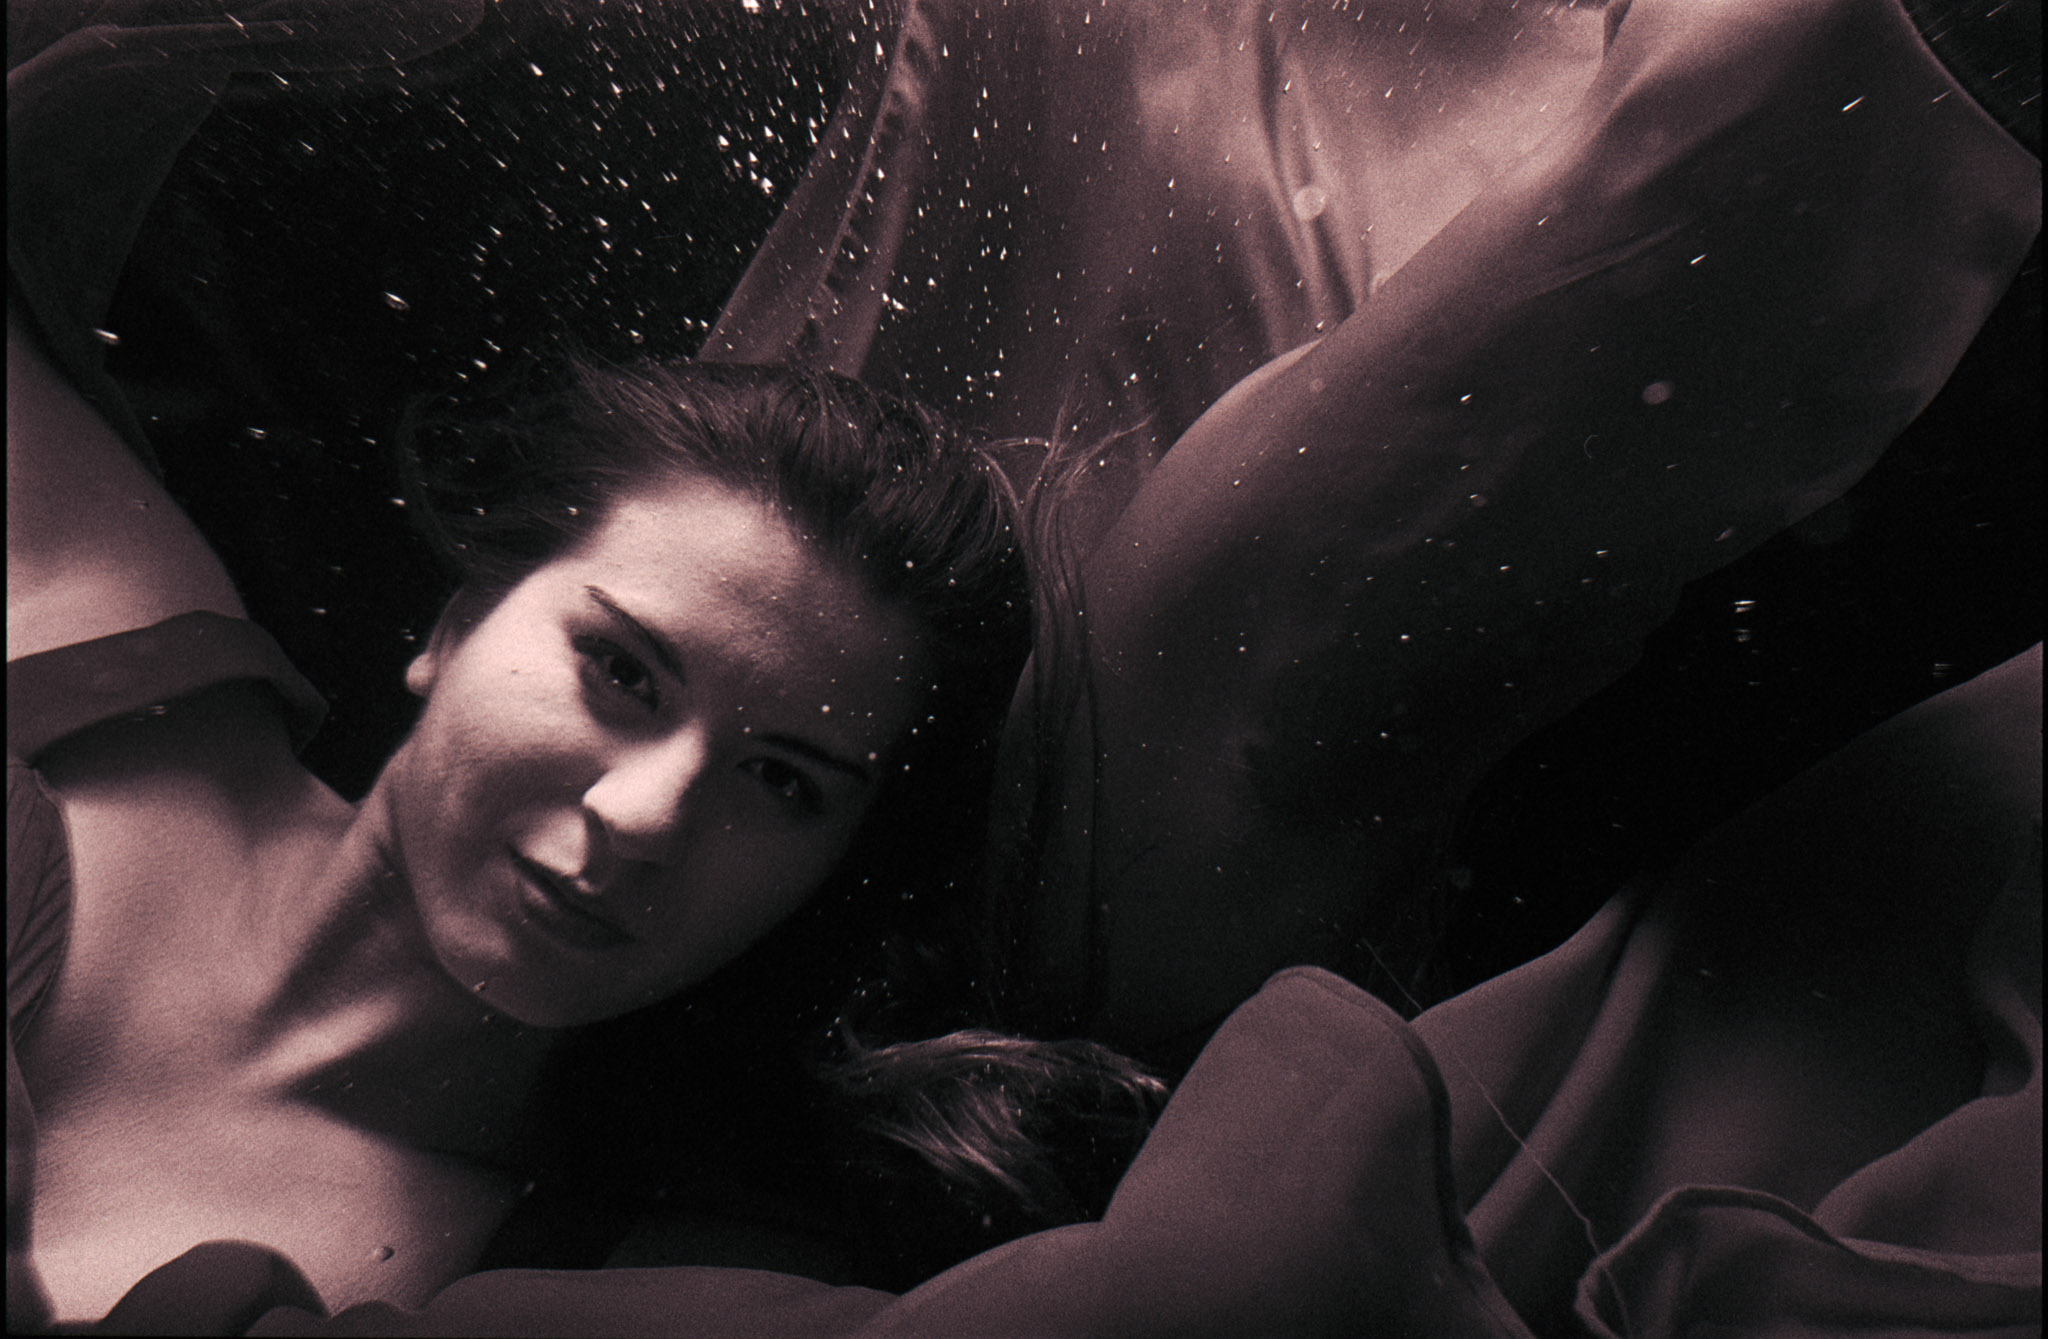
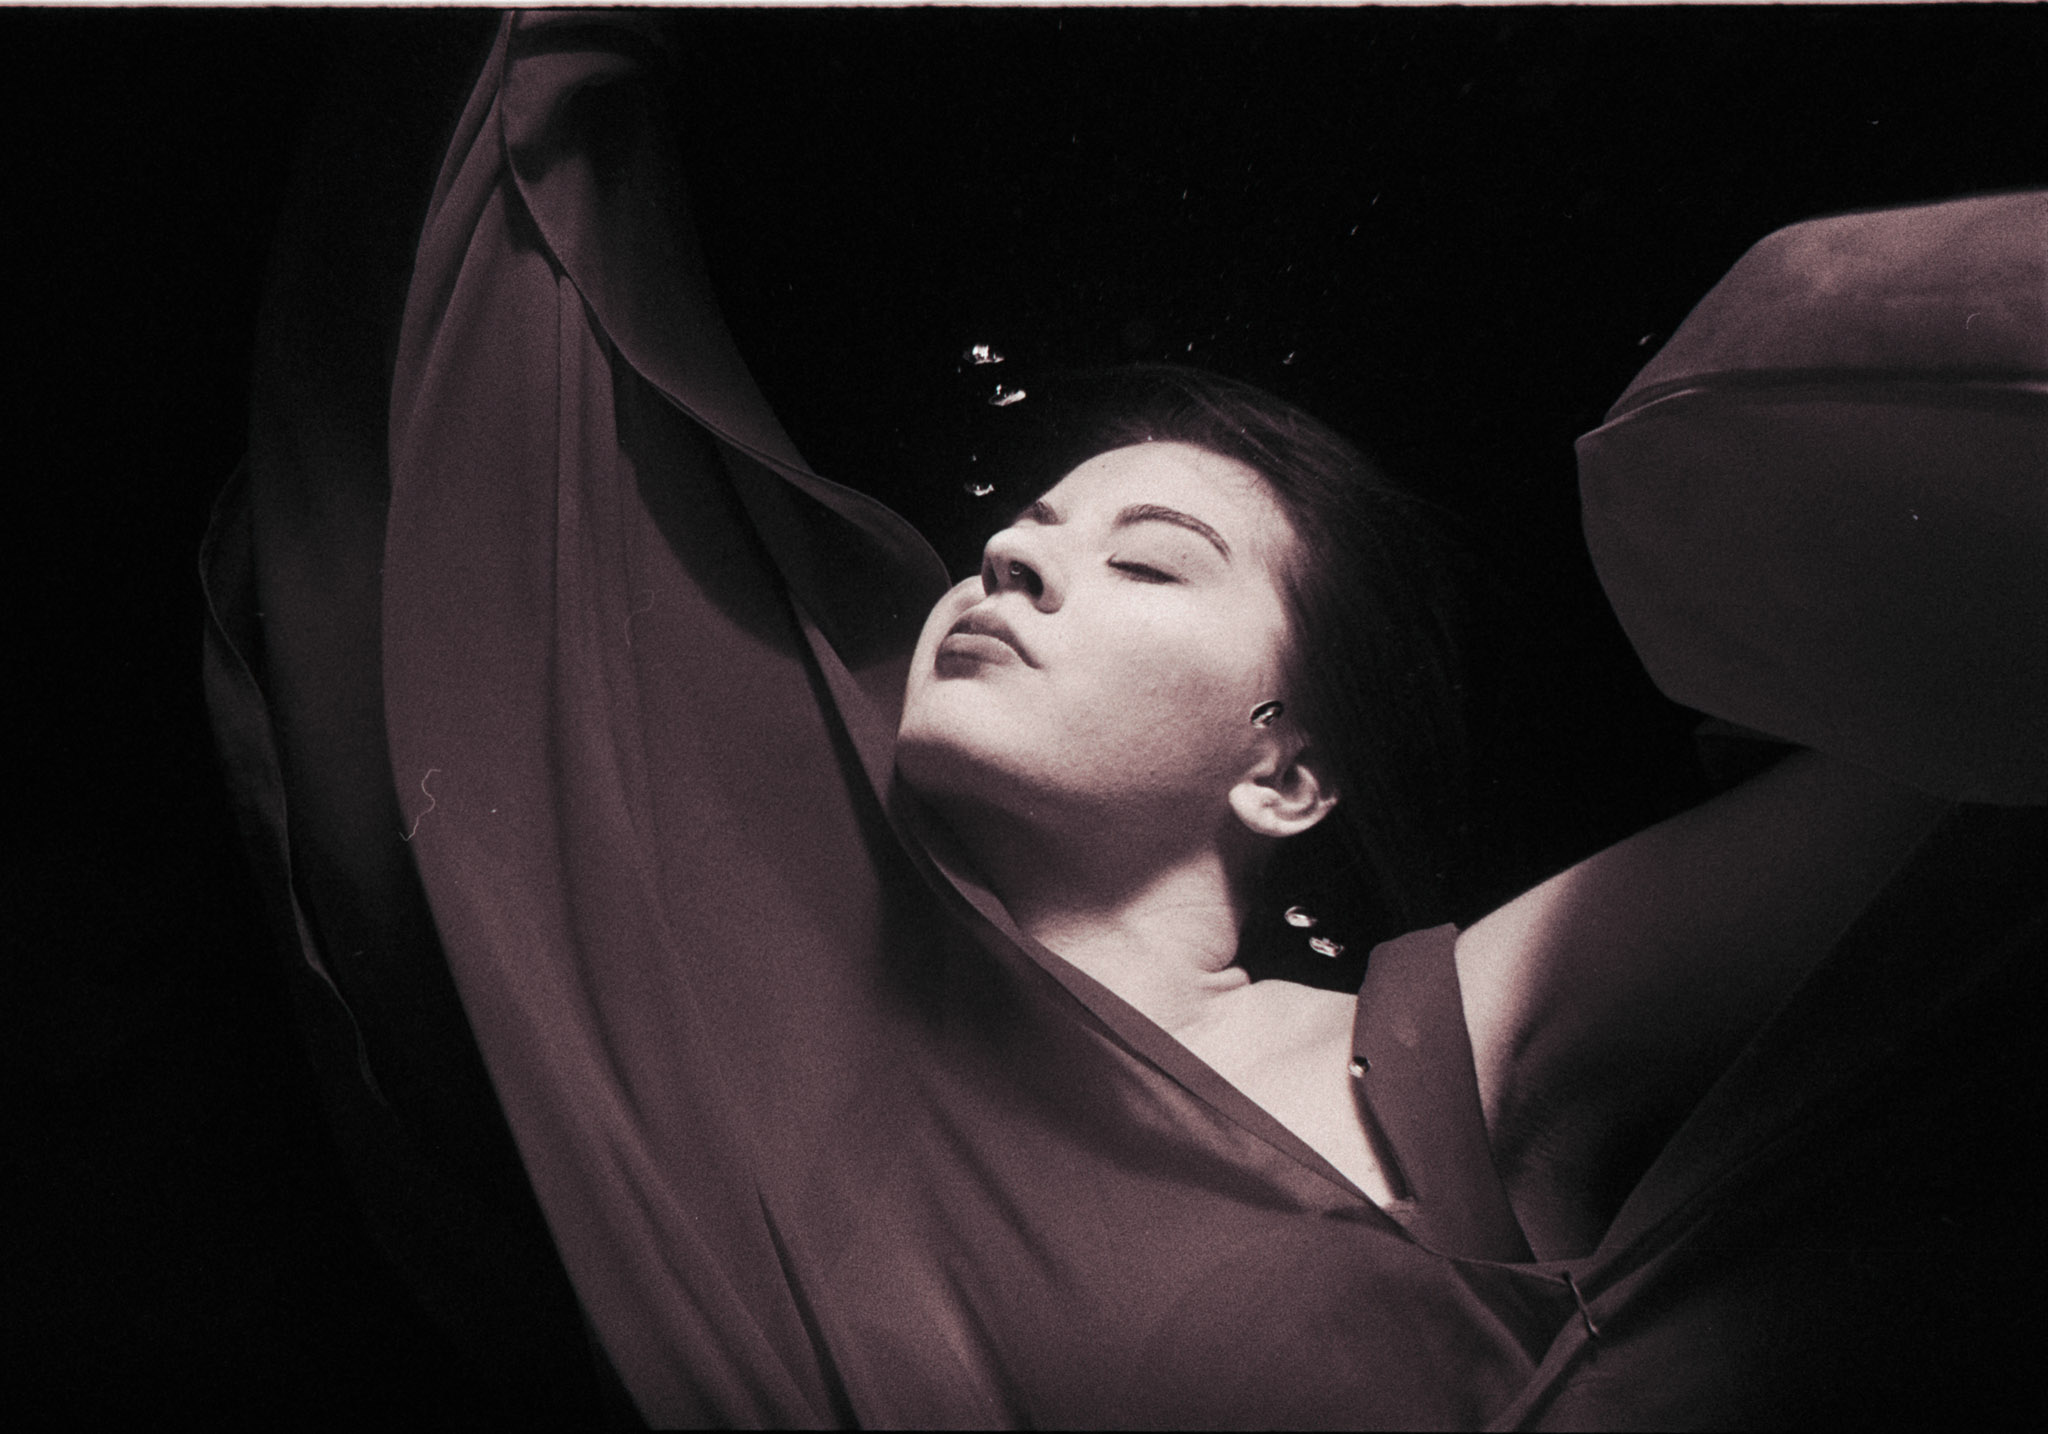
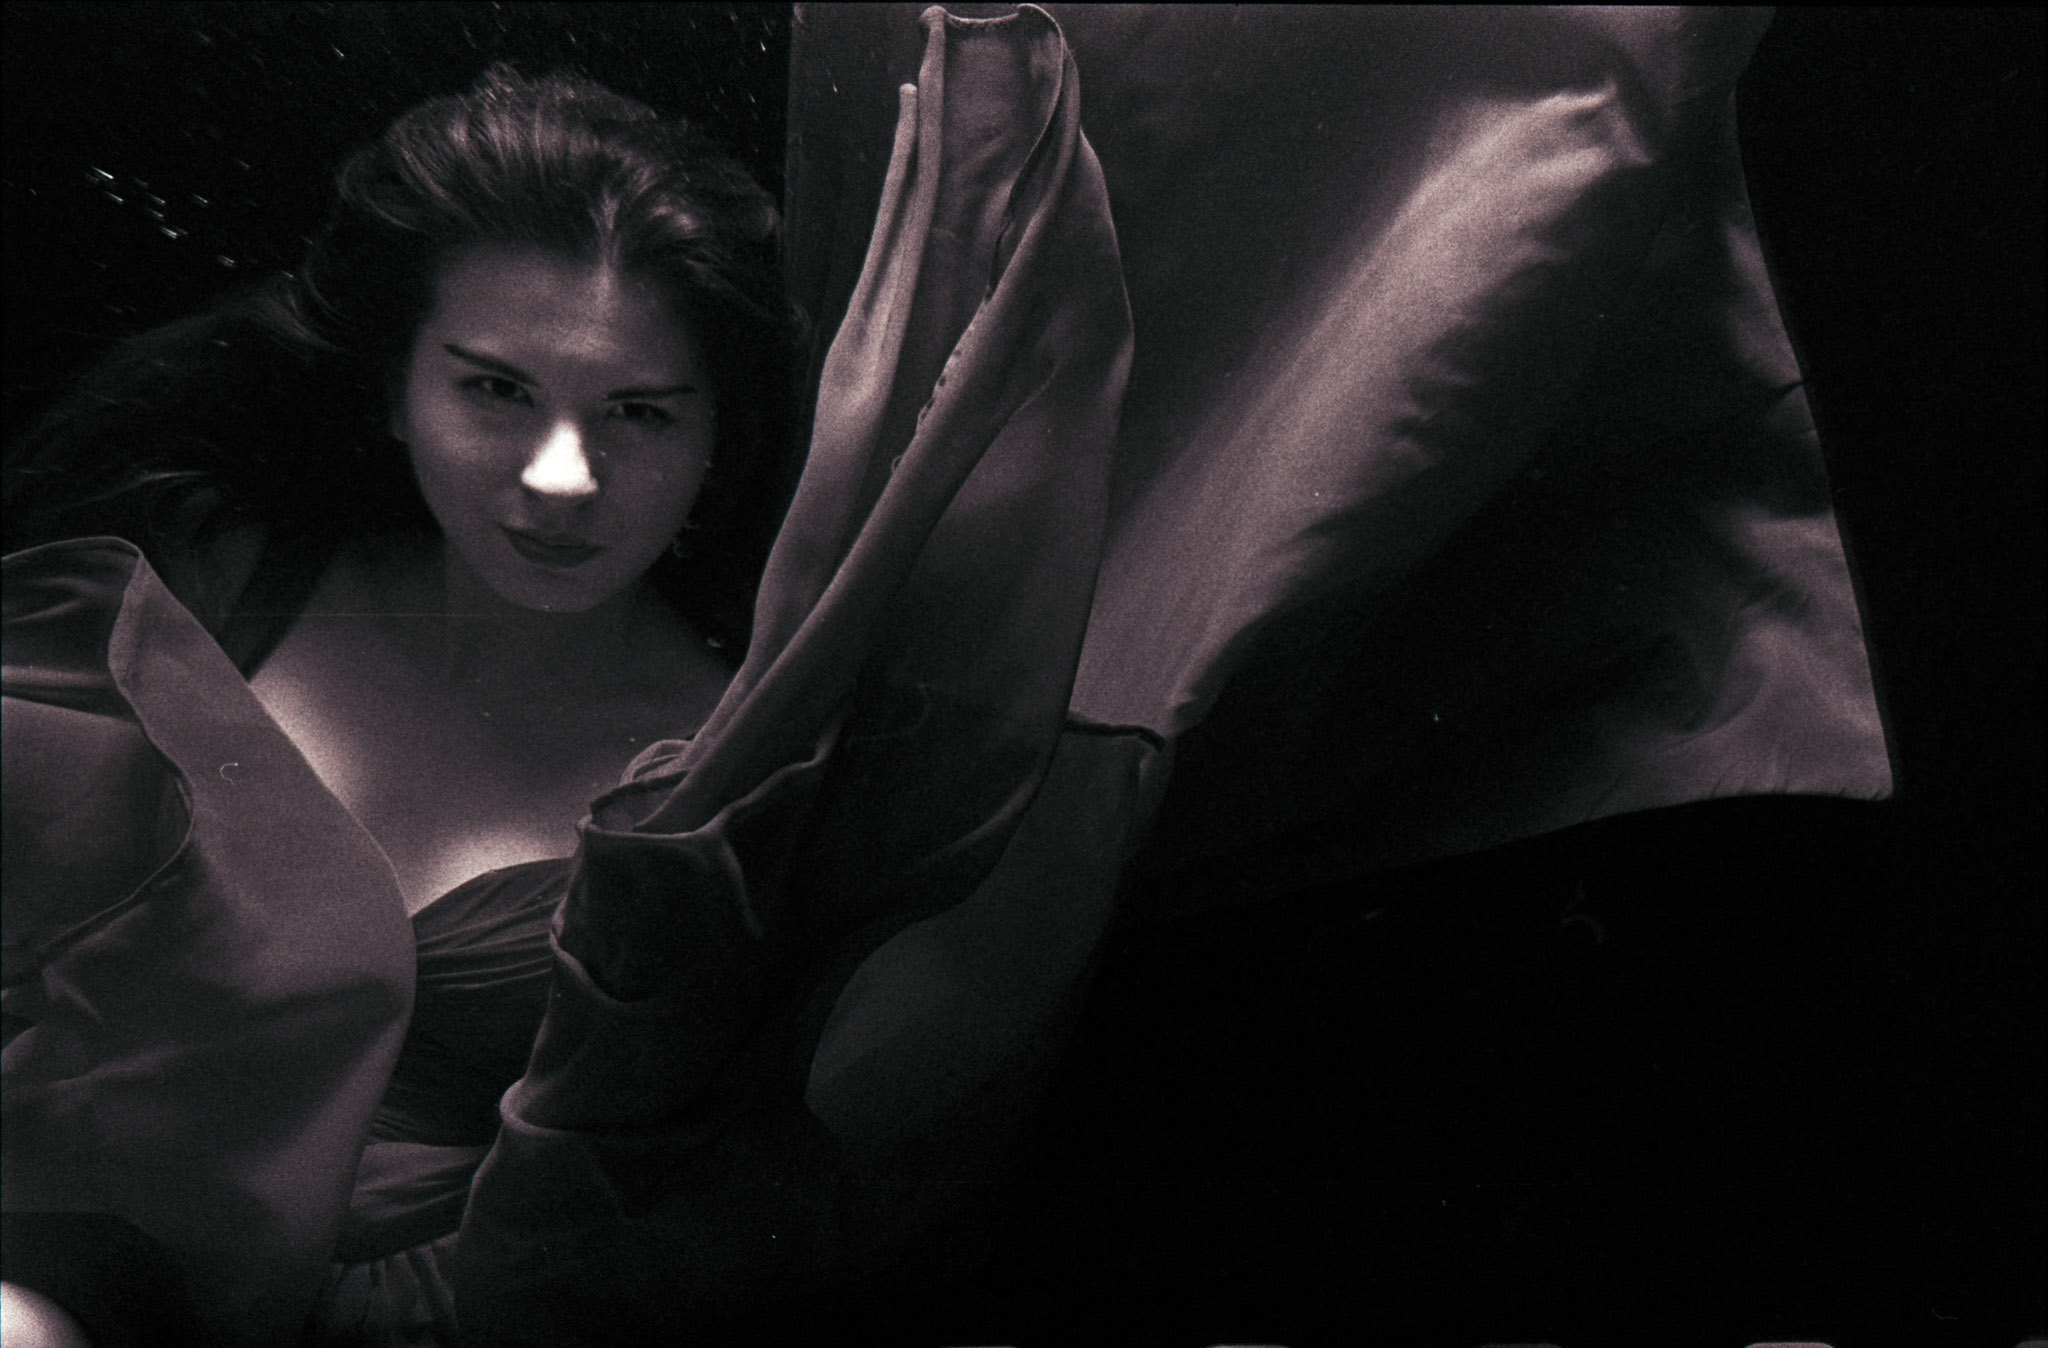
After the roll of Portra, I put in a roll of Trix 400. I wanted to shoot black & white since I knew colour would potentially be an issue. The ambient fluorescent lighting of the pool mixed with the strobe give weird colours I was unsure could be corrected with the film negatives. The exposures of the black and white turned out really nice. Of the two rolls of film I shot, I prefer the black & white. Although, I am not particularly please with any of them. It's quite challenging to get some pleasing compositions even with the digital. So, shooting on film, not being able to witness directly the results, its quite hard to judge and direct.


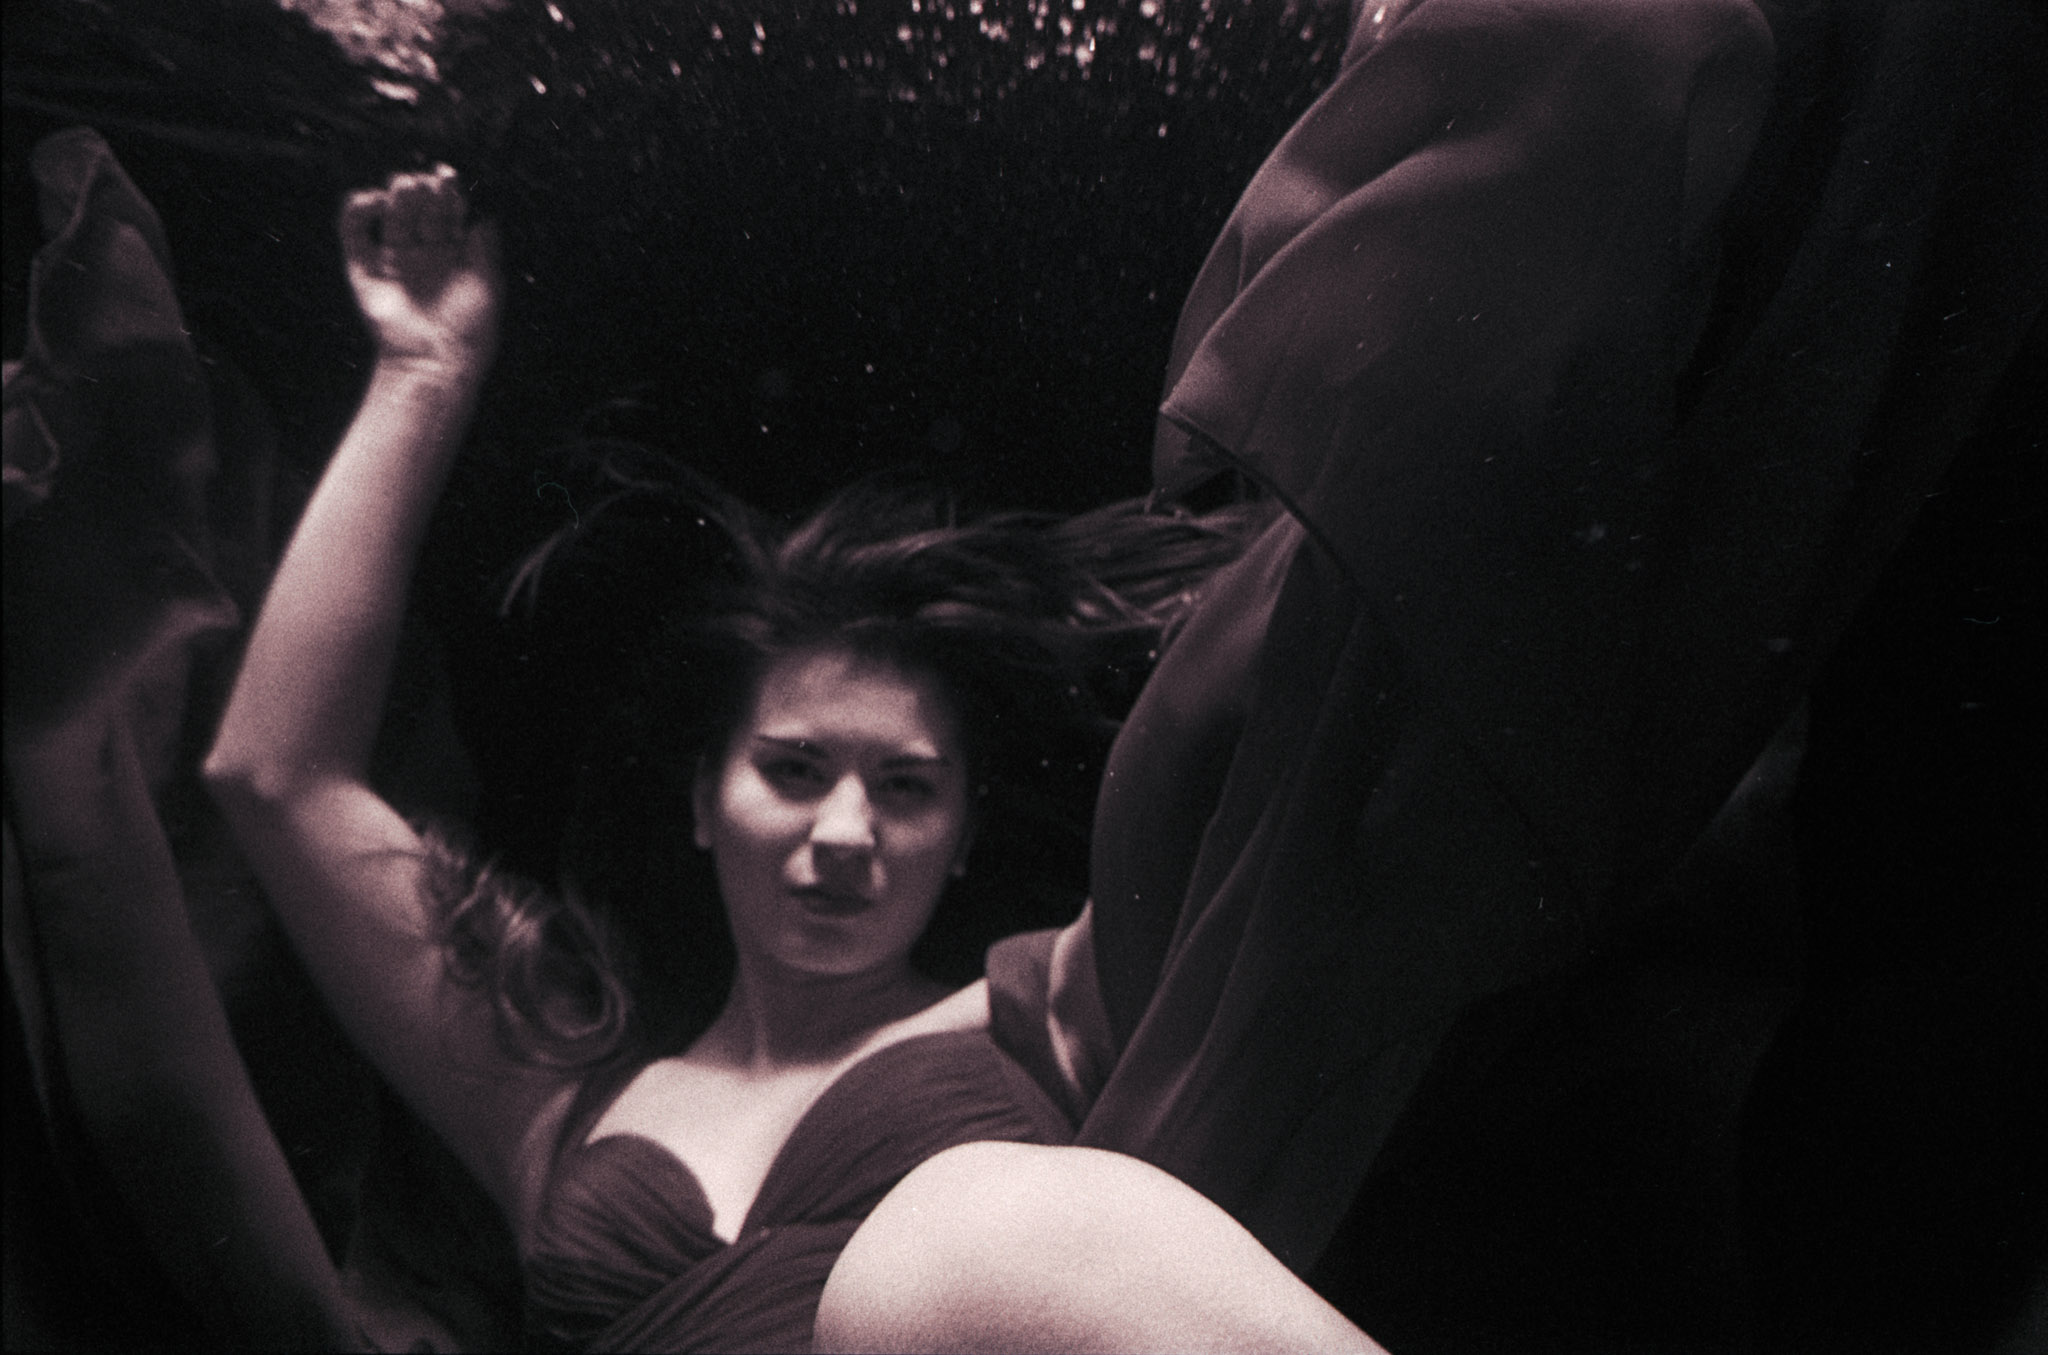
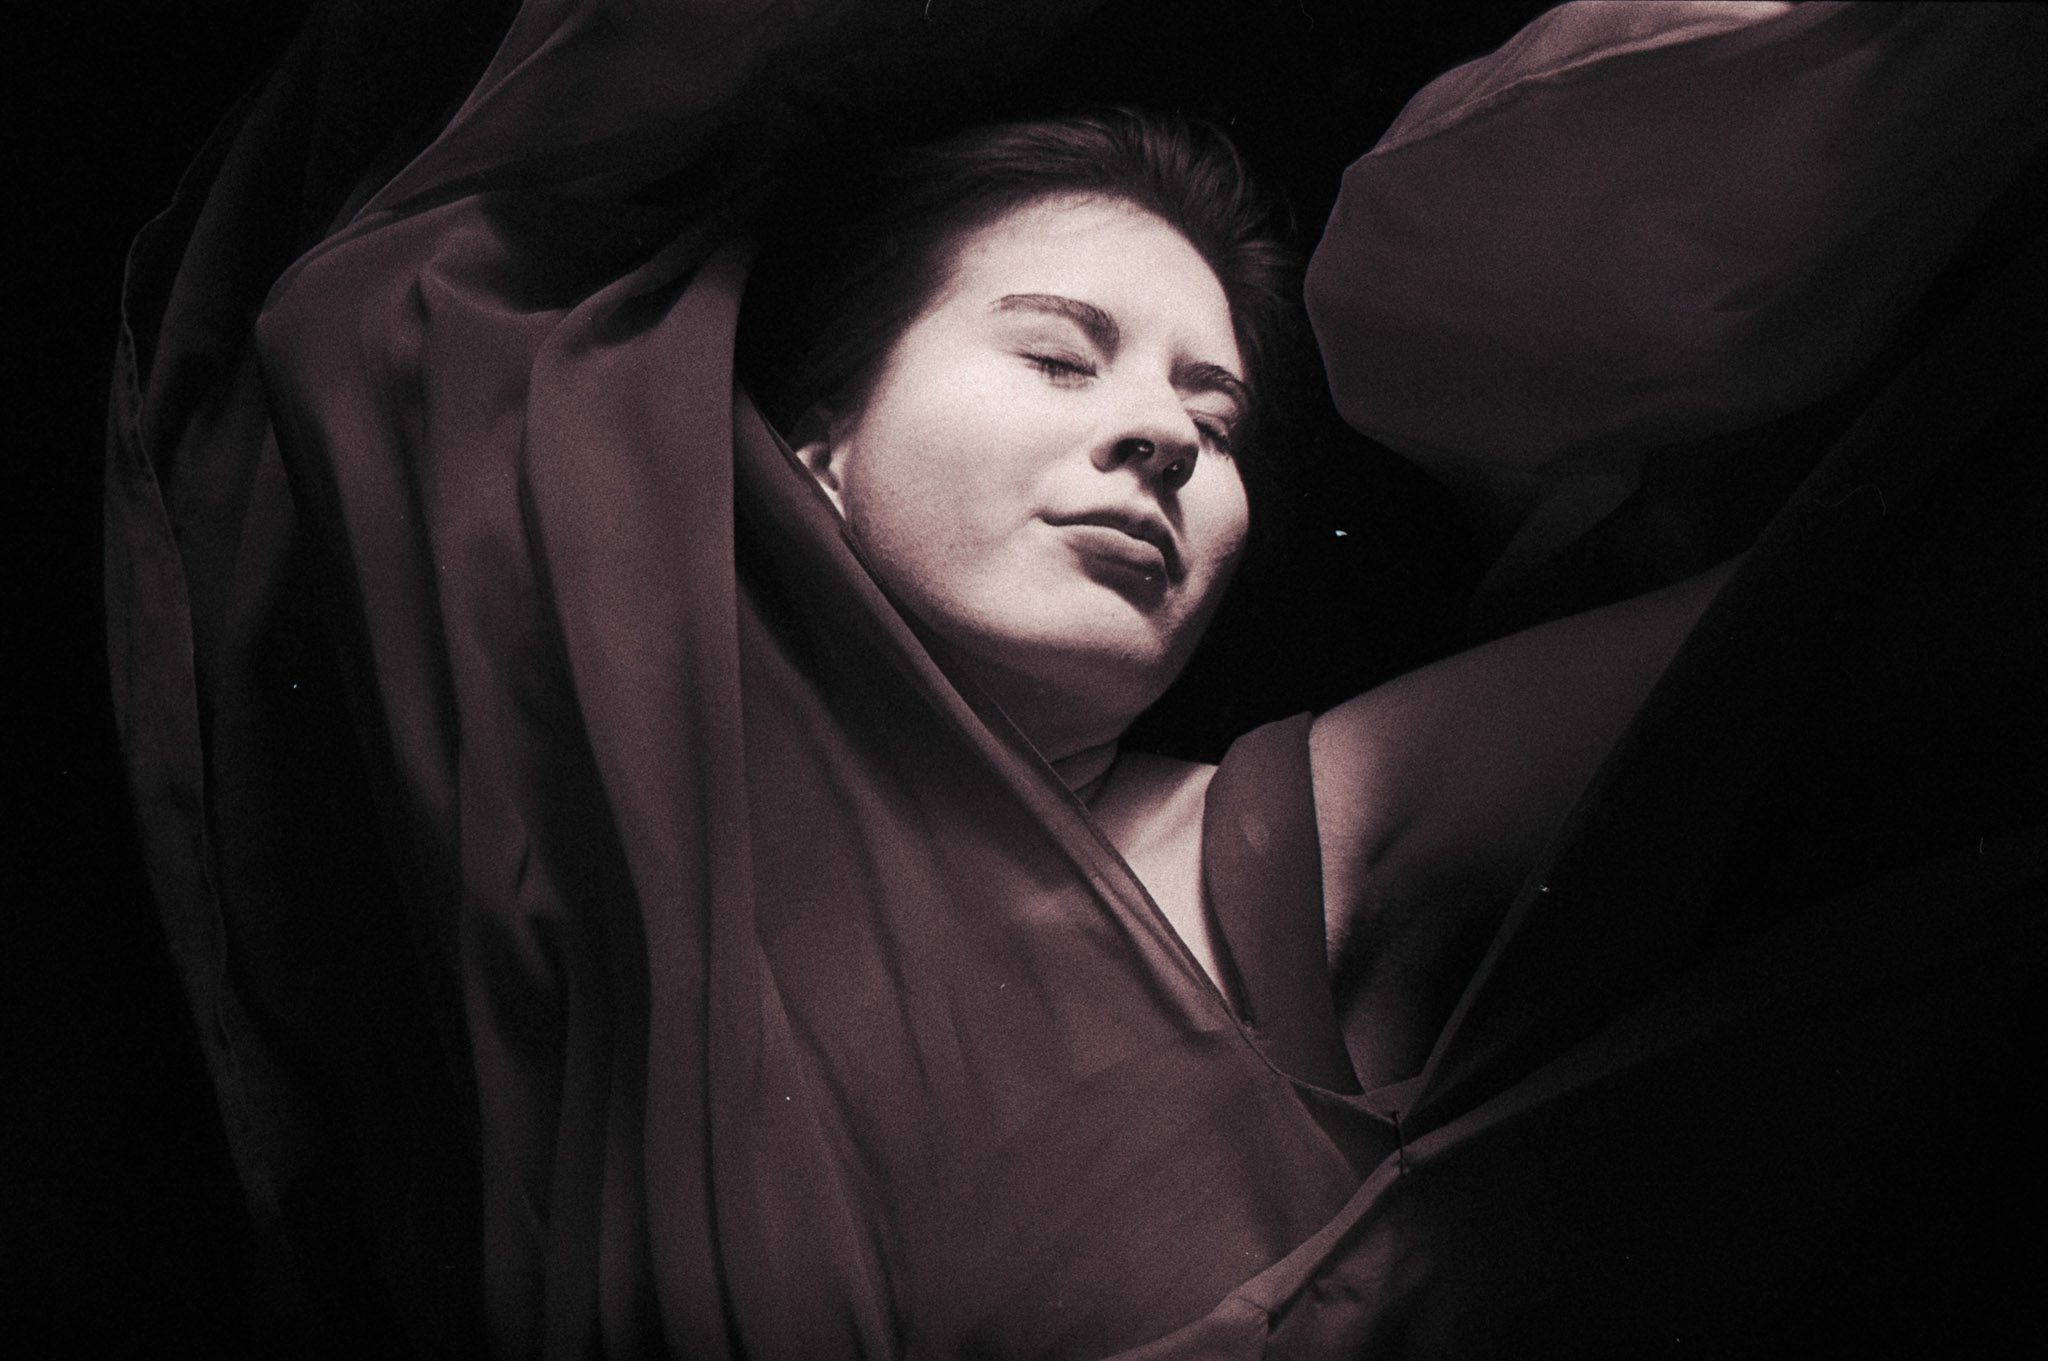
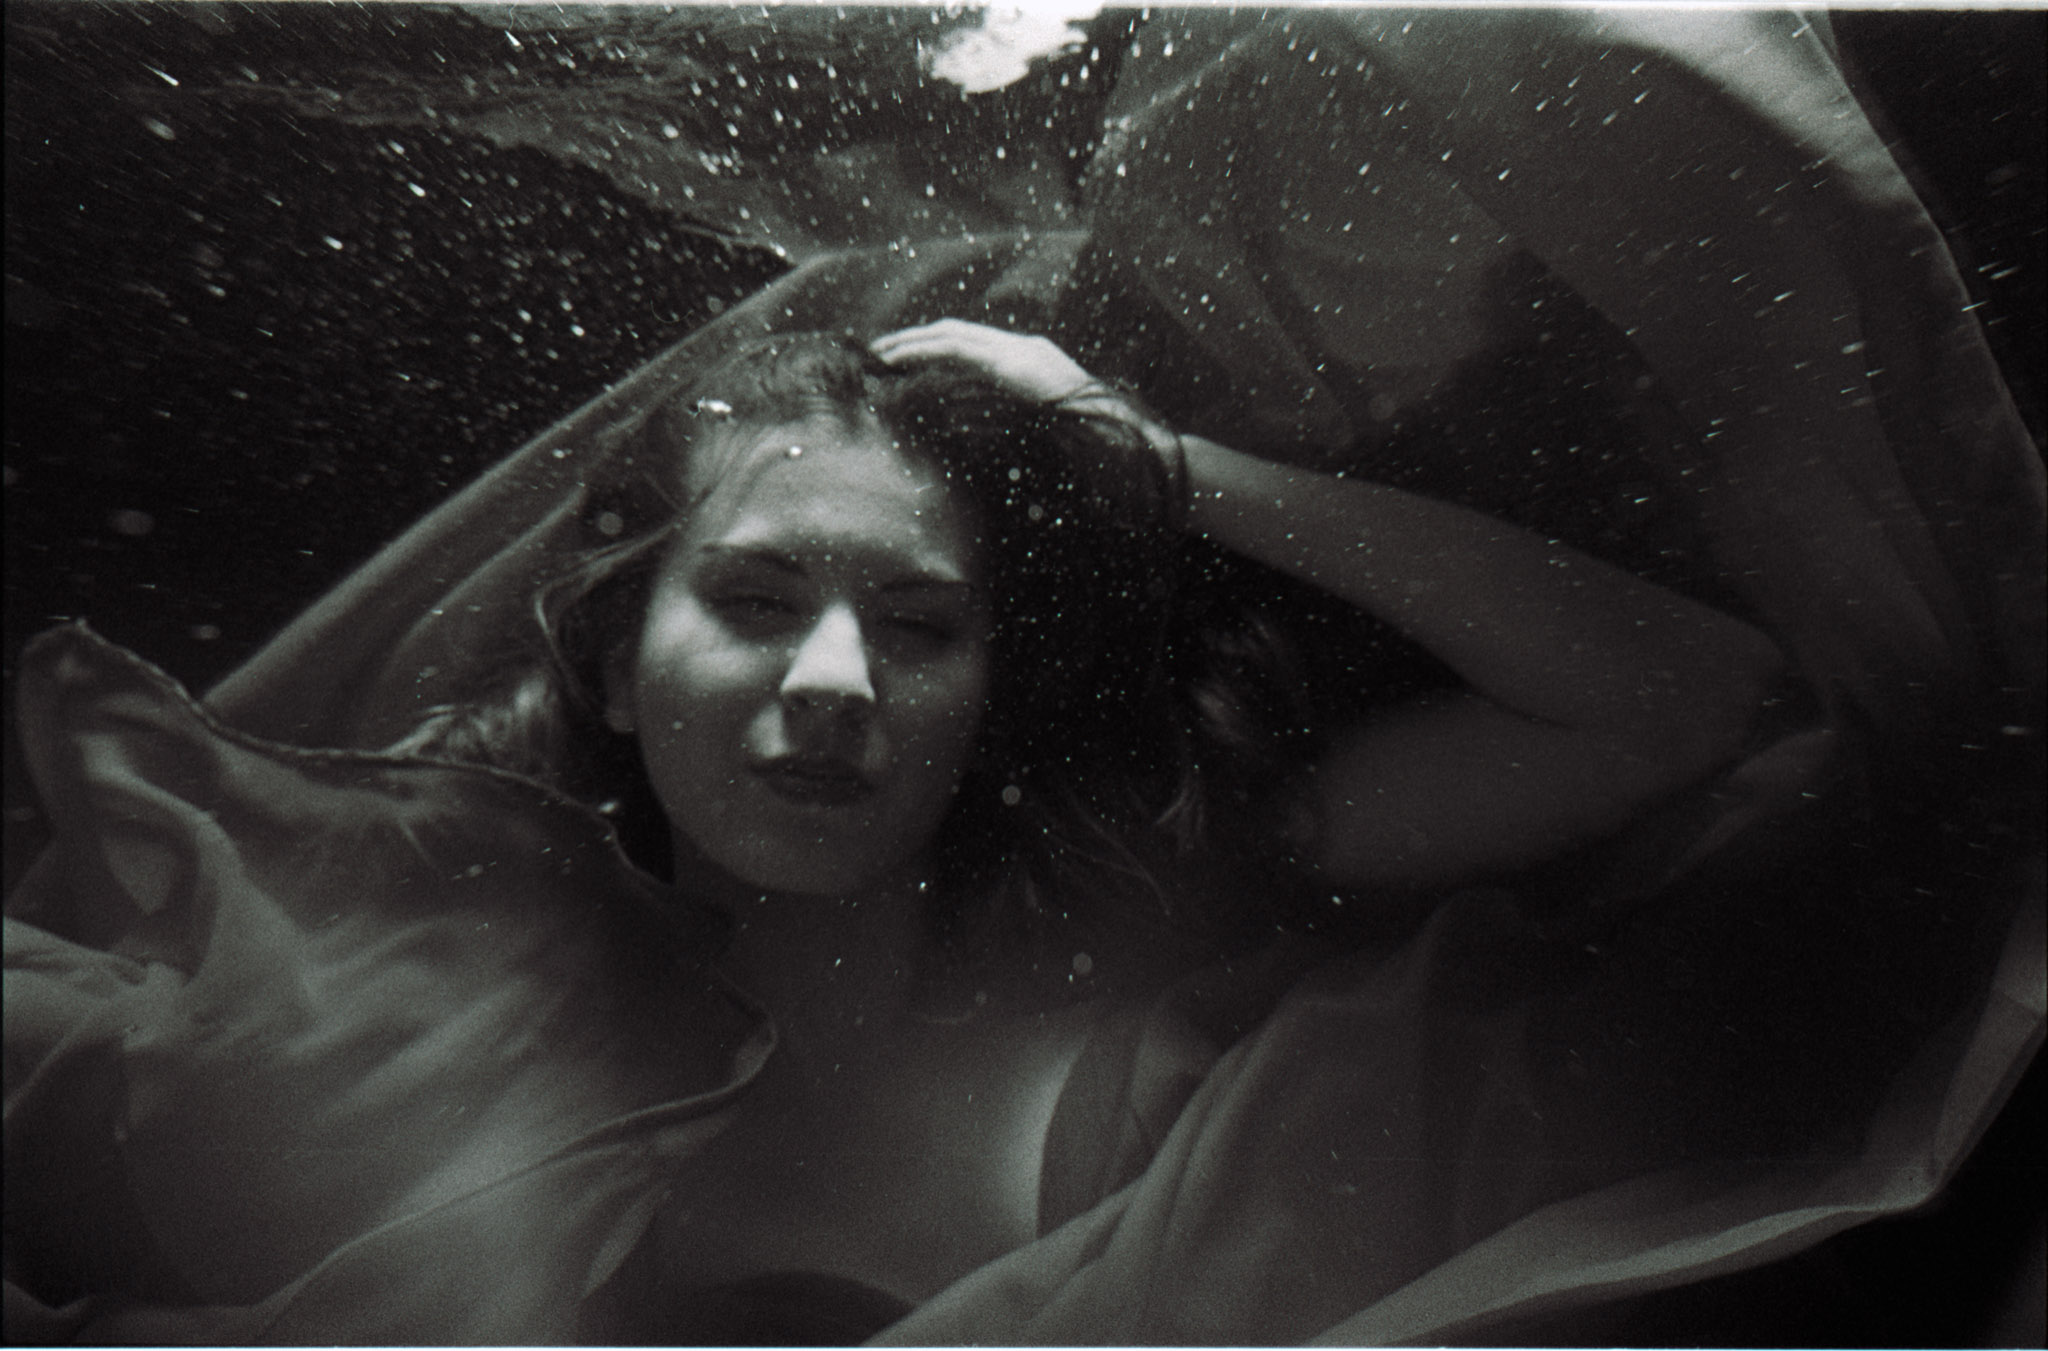
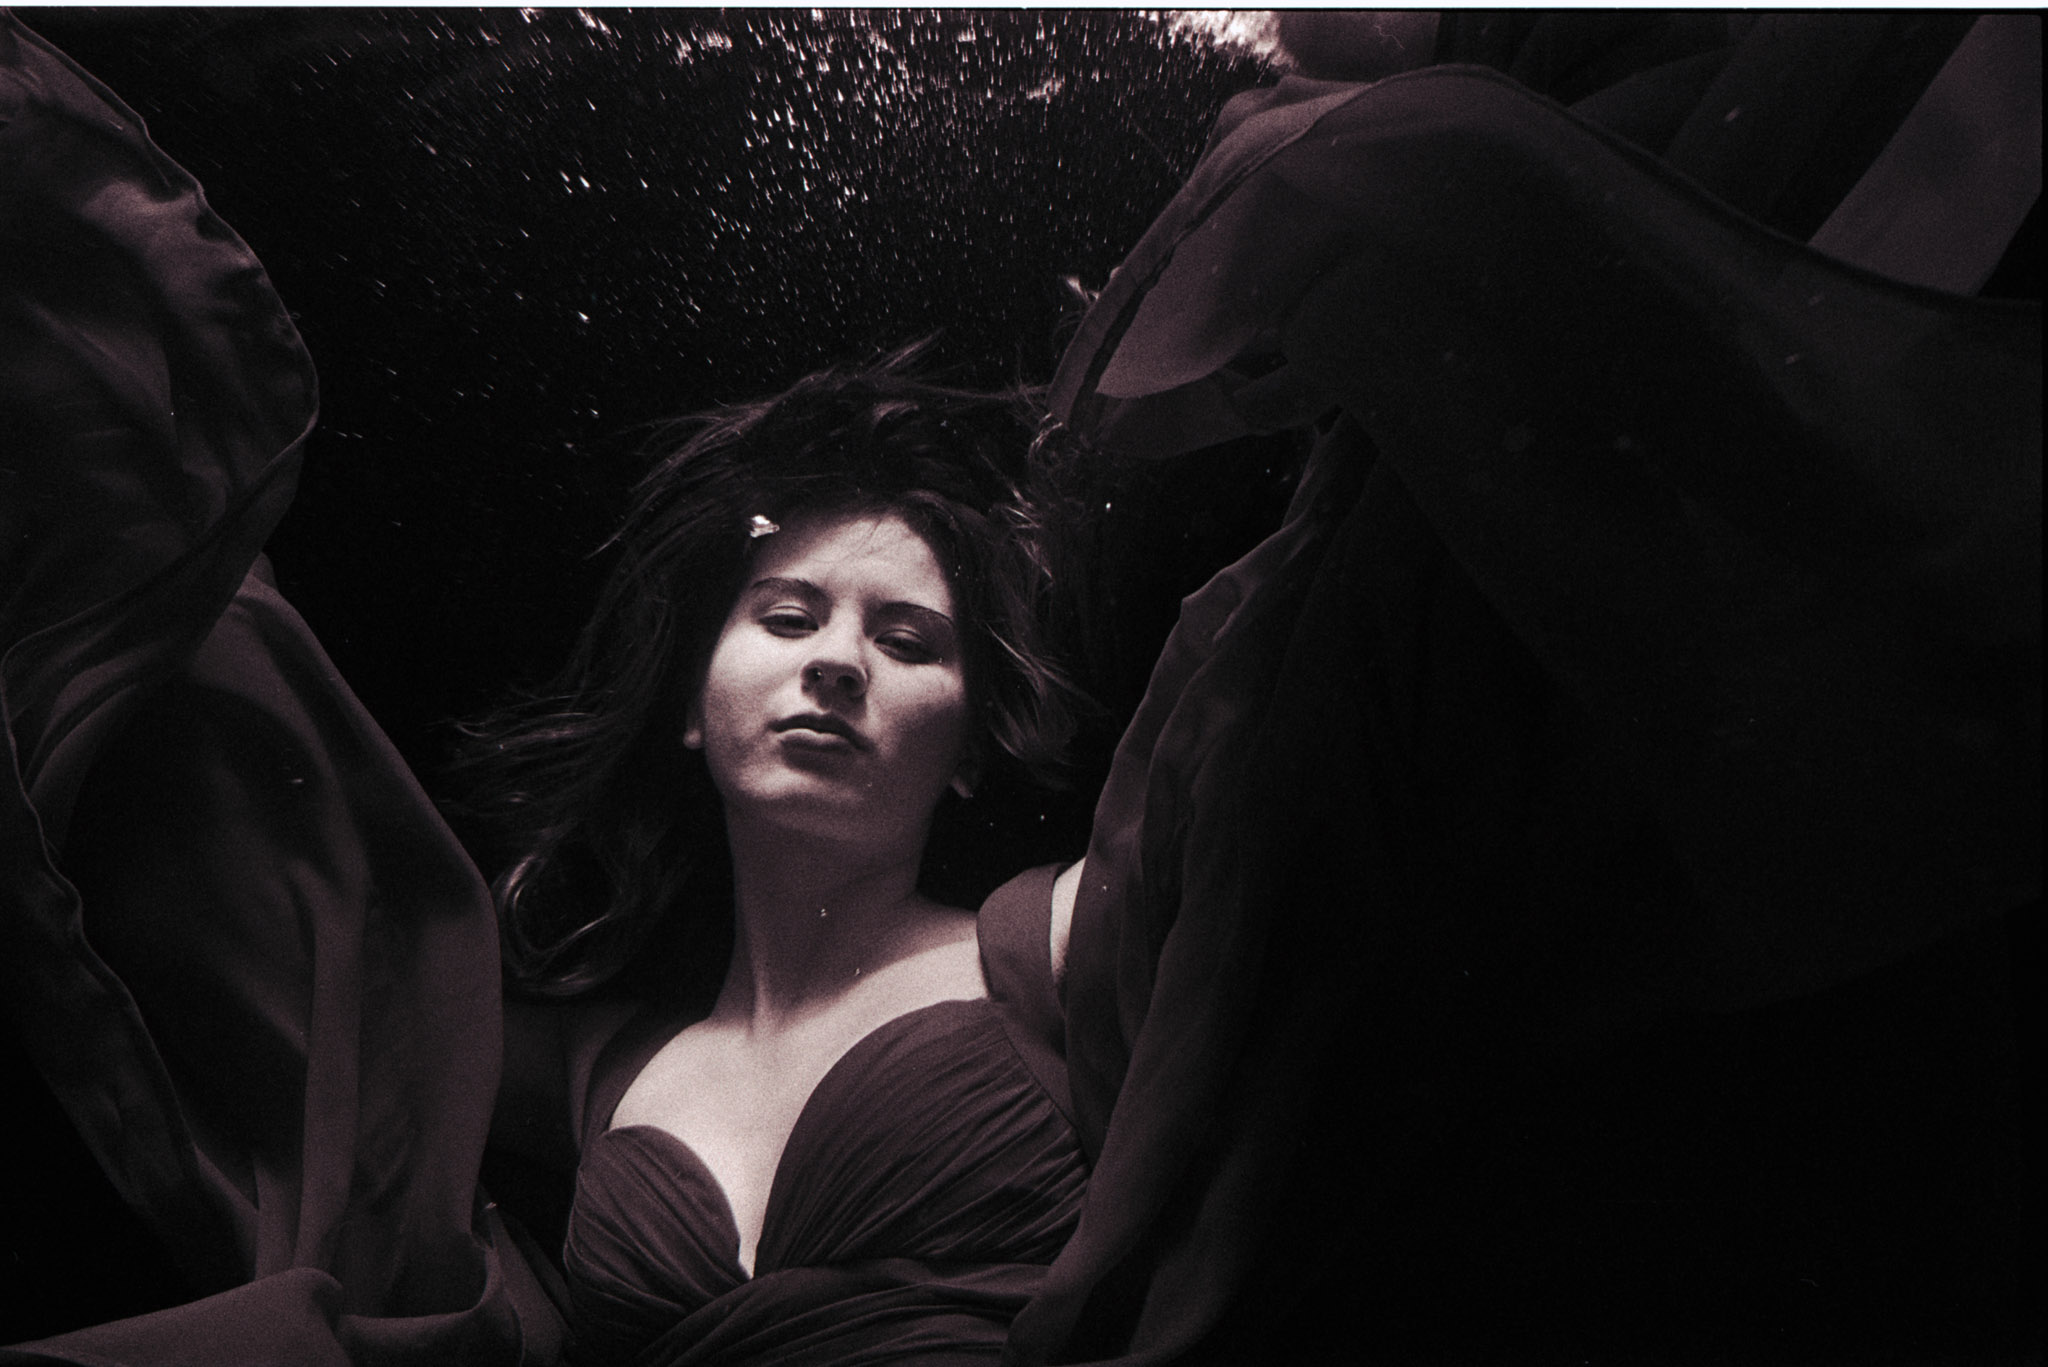
Given all the factors to coordinate for this shoot, bts video included, I am really happy how everything turned out. If you ever want to try this for yourself make sure to get plenty of help and a lifeguard to keep an eye on you. Safety first!

